Start with where and how people will scan
Before placing the artwork, decide what the scan should do and how someone will approach the person wearing the shirt. A person scanning another wearer from a few feet away needs a different test than the wearer scanning their own shirt up close. There is no single shirt size or scanning distance that fits every design: the QR symbol’s area depends on its version and module size, while the real scanning result also depends on the printed garment and use conditions. [1]
Write down these three choices first:
- Who scans? A passerby, an event attendee, or the person wearing the shirt?
- From where? At arm’s length, from a line, or while moving through a venue?
- What should open? A short page with the expected next action, not an unexplained or unfinished destination.
Use those answers to set the print size and placement with your printer. If the code must be read from farther away or while the wearer is moving, make a proof at the intended size and verify it in that setting before ordering a run.
Choose a placement that stays flat on the wearer
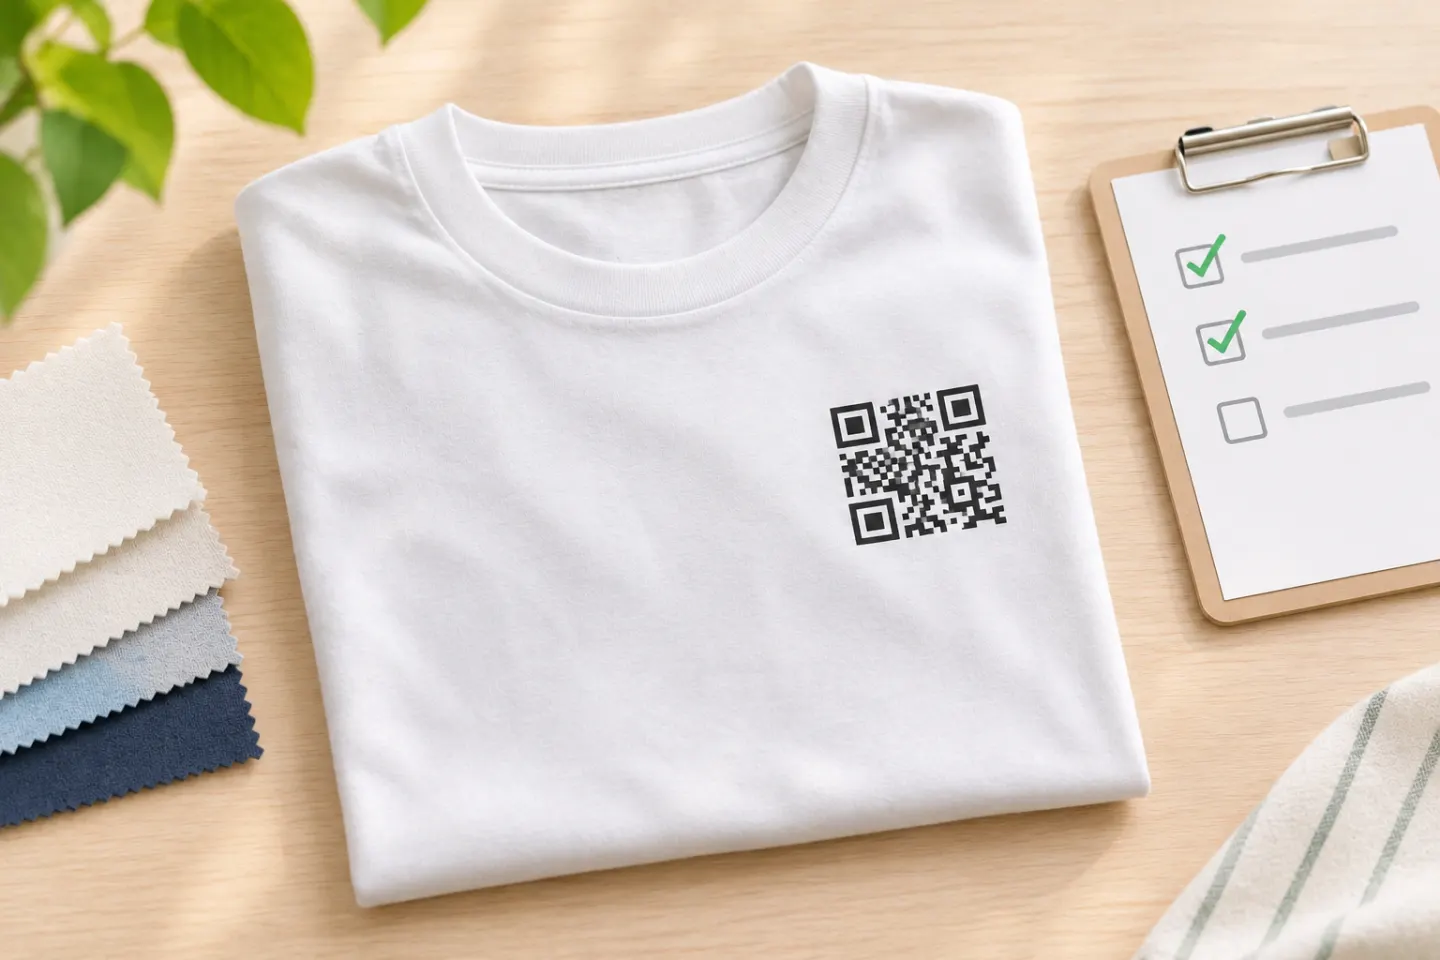
Start with a broad area that does not cross a seam, fold, or strongly stretched part of the shirt. The center chest or upper back may be candidates, but the right spot depends on the shirt’s cut, fit, fabric, and how it will be worn. Do not approve placement from a flat digital mockup alone.
Check the actual shirt on a wearer or on the intended display form:
- Put on the shirt in its normal fit.
- Mark the proposed code area and check whether it bends, wrinkles, or stretches when the wearer stands and moves naturally.
- Move the code if a fold, seam, or tension line crosses the symbol or its clear margin.
- Keep nearby text, logos, borders, and artwork outside the clear margin.
The blank margin is part of the code area. DENSO WAVE specifies four modules of clear space on every side of a standard QR Code; keep that space visible in the print file and around the printed symbol. Do not trim it to make a design fit. [1]
Prepare the QR artwork for the printer
Create the QR code with the final destination and confirm it is the one you intend people to open. For a new static code, QRHyper Web lets you choose a content type, enter the destination, optionally customize the appearance, review the preview, and download a PNG without creating an account. Use that image in your shirt design; QRHyper does not print the garment or provide a managed destination update. Ask the print provider what file type and dimensions its workflow accepts. Preserve the generated pattern and its four-module quiet zone; do not redraw the squares, place artwork over them, or enlarge a small screenshot to reach the planned size.
Before approving a proof, check that:
- The full square and quiet zone fit inside the print area.
- The code has clear contrast against a plain background.
- No folds, seams, design elements, or borders touch the quiet zone.
- The printer has placed the code at the intended physical size on the selected shirt and fabric.
- The final printed sample, not just the source file, is used for the scan test.
There is no single printing method that can be called best for every fabric and provider. Ask the shop to recommend a method for the garment you chose, then judge the result by the sample: the dark and light parts should remain distinct, the square should not be visibly warped, and the phone should read it in the planned setting.
Test a printed sample before ordering shirts
A useful test starts with one sample made using the actual shirt, print method, color, size, and placement planned for production. Test the code both on a flat surface and while the shirt is worn. If people will scan from farther away, across a room, outdoors, or while the wearer is moving, include those conditions in the test rather than assuming a close, still scan proves it will work.
Use a simple pass/fail record:
| Check | How to test | Pass when… |
|---|---|---|
| Destination | Scan the printed sample and open the result | It opens the intended page or action |
| Shirt worn | Scan while the shirt is worn at its normal fit | The code is recognized without pulling the fabric flat by hand |
| Realistic distance | Stand where the intended scanner is expected to stand | The code is recognized from that position |
| Angle and movement | Try the likely approach angle and ordinary wearer movement | The code remains recognizable in the intended use |
| Lighting | Test the expected indoor or outdoor light | The code can be framed without glare or a shadow hiding its pattern |
| Device check | Try at least two phones, ideally one iPhone and one Android | The intended destination appears on both test devices |
| Wear or washing, if relevant | Follow the garment’s care instructions, then retest the sample | The code still scans after the wear condition you need to support |
Apple’s iPhone instructions and Google’s Pixel instructions both describe aiming the camera or scanner at a visible QR code and opening the link it presents. Google’s troubleshooting guidance also recommends keeping the full code visible, steadying the phone, avoiding glare, and adjusting distance. These are useful checks for the person doing the test; the exact controls vary by device. [2][3]
Record the shirt and print method, final code size, scan distance, lighting, phone models, whether the shirt was worn, and the result. If a test fails, change one factor at a time—such as placement, size, or contrast—and test a new sample. Do not treat a successful screen scan as approval for bulk printing.
Fix the failure you observed
| What happened | What to check next |
|---|---|
| It scans on a screen but not on the shirt | Review the printed sample for distortion, low contrast, lost detail, or a crowded quiet zone; ask the printer to revise the proof |
| It scans only when the shirt is pulled tight | Move it to a flatter area or choose a placement that stays flatter in normal wear, then retest |
| It scans up close but not from the expected distance | Increase the print size or change the scan location, then test again from the real approach point |
| It scans on one phone but not another | Check focus, full-code visibility, lighting, and distance on the second phone; compare results before approving the run |
| The code is recognized but the page is wrong or unavailable | Check the encoded destination and confirm the page works on a phone before printing more shirts |
Preflight before production
Do not release the order until you can answer yes to each item:
- Is the QR code linked to the intended mobile destination?
- Is the placement flat enough on the actual garment and normal fit?
- Is the full code visible with the required four-module clear margin?
- Has the final print been tested while worn, from the expected distance and angle?
- Does it open the correct result on the test phones?
- If the shirt will be washed or worn repeatedly, have you tested the sample after the relevant care or wear condition?
If one answer is no, hold the run and revise the sample. The cost of a proof is easier to manage than a batch of shirts whose QR code only worked in the design file.
References
[1] DENSO WAVE. Point for determining the code area. https://www.qrcode.com/en/howto/code.html
[2] Apple Support. Scan a QR code with your iPhone or iPad. https://support.apple.com/en-us/102680
[3] Google Pixel Phone Help. Scan QR codes with your Pixel phone. https://support.google.com/pixelphone/answer/16561572?hl=en