Key takeaways
- QR Code versions contain different numbers of modules; more encoded data can require more modules. [1]
- Reserve a quiet zone at least four modules wide on each side of the symbol. [2]
- Set candidate module size with the print process and intended reading device in mind, then test the final proof. [3]
- Choose the smallest candidate only after it passes a representative physical proof test.
Why one minimum size does not fit every QR Code
A QR Code is made of small square units called modules. The version sets the symbol’s module count: standard QR Code versions range from Version 1 at 21 × 21 modules to Version 40 at 177 × 177, increasing by four modules per side at each version. The data amount, character type, and error-correction level affect the version needed. More data can therefore produce a denser symbol that needs to be reproduced with greater care at a given physical size. [1]
The printed code also has to work in its intended setting. A code scanned close up on a small item has a different job from a poster scanned across a room. The printer’s output capability and the reading device are relevant when setting module size. [3] A measurement that works for one code and setup is not automatically a safe minimum for another; test the final proof in its intended setting.
Calculate the module pitch and full code area
Before choosing a physical size, find the module count of the exact QR Code artwork you plan to print. Ask the code provider or use the QR generation software’s technical details; do not assume that two codes with different encoded content have the same module count.
DENSO WAVE explains that the code area depends on the symbol version, module size, and the quiet zone. Its example uses a Version 3 code with 29 modules per side, a 400 dpi printer, and a four-dot-per-module output. That specific setup gives a module pitch of 0.254 mm and a total area of 9.398 mm per side including the quiet zone. It is a worked example, not a universal minimum. [2]
You can use the same geometry to check a candidate layout:
Full square area including quiet zone = module pitch × (modules per side + 8)
The extra eight module pitches account for four clear modules on each of the two sides. If you know the width of the QR symbol itself, excluding the quiet zone:
Module pitch = symbol width ÷ modules per side
Example: separating symbol width from total footprint
Suppose the exact artwork has 29 modules per side and the symbol itself—not including its quiet zone—is 20 mm wide. Each module is about 0.69 mm wide (20 ÷ 29). The required four-module clear margin adds about 2.76 mm on each side, so the complete square area is about 25.52 mm wide (20 + 2 × 2.76).
This calculation tells you how much layout space the code and its quiet zone occupy. It does not prove that the code will scan at a particular distance. That still requires a physical test of the final artwork and print conditions.
Choose a candidate size for the real use
Do not choose a print width from a formula alone. DENSO WAVE advises considering both the printer’s capabilities and the reading device when setting module size. [3] Use those constraints to select candidate widths, then let a physical proof at the intended distance decide whether the final size works.
If the code will be scanned from farther away, begin with a larger candidate and test from the greatest expected distance. If the code contains a lot of data or uses more modules, do not assume the same outside dimensions will perform like a simpler code. When a layout leaves little room, shortening the encoded destination may reduce the amount of data, but regenerate the code and verify the new artwork rather than resizing an old image.
A practical size test you can reproduce
Use this procedure before approving packaging, cards, labels, flyers, or signage:
- Freeze the artwork. Use the exact QR Code, encoded destination, colors, quiet zone, and design intended for print. Record its module count or version if available.
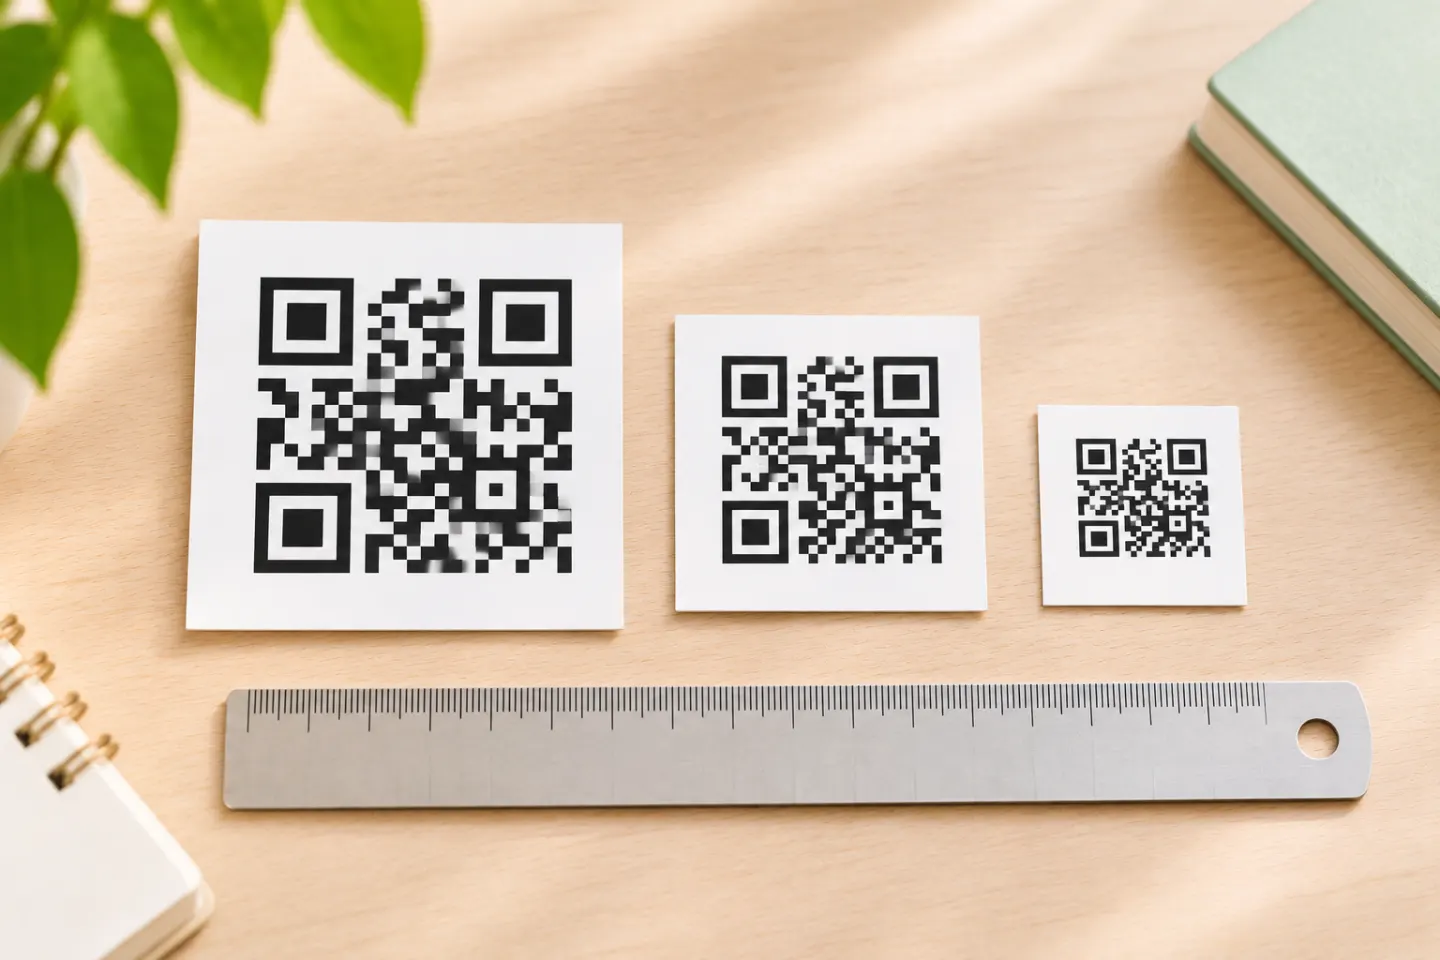
- Choose candidate widths. Select two or three physical symbol widths that fit the layout. Measure whether the quiet zone is included in each width so your comparisons use the same definition.
- Print the real proof. Use the intended printer or a representative production method, at the final physical size, on the intended stock and finish. A screen zoom or an enlarged office print is not equivalent.
- Set the real scan conditions. Test at the closest and farthest expected user positions, in expected lighting, at likely viewing angles, and on the actual surface. Include glare, curvature, folds, or texture if these will be present.
- Try representative phones. Use more than one phone if your audience may use different devices. Open the camera or scanner normally; do not move closer than a user would in practice.
- Verify the outcome. Confirm that each phone recognizes the code promptly and reaches the intended working destination. Record candidate size, distance, surface, lighting, phone, and result.
- Select with margin. Choose a size that works across the intended conditions with room for production variation. If the smallest candidate fails or is inconsistent, move up to the next size and repeat the proof.
- Repeat after changes. Retest if the code content, module count, dimensions, print provider, stock, coating, or placement changes.
This is a decision procedure, not a claim that a particular size has already been tested. A single successful scan at a desk does not establish performance across different phones, materials, or distances.
Common sizing mistakes
- Measuring only the dark symbol: include the four-module quiet zone in the layout footprint. [2]
- Copying a minimum from another guide: the other example may use a different code density, printer, surface, or scan distance.
- Shrinking a dense code to fit: a larger module count at the same outside dimensions means smaller individual modules.
- Assuming resolution alone settles the question: a printer setting is only one part of the code area calculation; use a clear, standards-conforming print and verify the final proof. [2][3]
- Testing only a screen preview: test a physical proof that represents the final material and finish.
- Changing the artwork after approval: any material change calls for another proof.
Frequently asked questions
What is the minimum size for a printed QR Code?
The official guidance cited here gives code-specific geometry and advises considering printer capability and the reading device; it does not establish a universal print width. [1][2][3] Calculate the geometry for the exact code, then test candidate widths in a representative proof.
Does the QR Code quiet zone count toward its size?
It should count toward the space reserved in your layout. Keep a clear margin at least four modules wide on every side. If a quoted size refers only to the symbol itself, add the quiet zone to find the total footprint. [2]
How should I choose the first size to test?
Start with the exact code’s module count, the printer’s capabilities, and the reading device. [1][3] Choose candidate widths that fit the layout, then test them in a physical proof at the intended distance and on the final material.
How do I make a QR Code smaller without making it harder to scan?
First check whether the encoded content can be shortened so the regenerated code uses fewer modules. Keep the quiet zone intact, preserve square proportions, and compare physical-size candidates with the test procedure above. Do not assume that a denser code will scan reliably just because it fits the same box.
References
[1] DENSO WAVE, “Information capacity and versions of the QR Code,” QRcode.com. https://www.qrcode.com/en/about/version.html
[2] DENSO WAVE, “Point for determining the code area,” QRcode.com. https://www.qrcode.com/en/howto/code.html
[3] DENSO WAVE, “Generating a QR Code.” QRcode.com. https://www.qrcode.com/en/howto/generate.html