Start with a view-only menu unless you also need online ordering. That keeps this project focused: helping guests find the correct menu without unnecessary steps.
1. Choose the menu destination and a stable URL
Decide what guests should see immediately after scanning:
| Destination | When to consider it | What to check |
|---|---|---|
| Mobile web page | Your main dine-in menu | Readability, accessibility, and easy editing |
| PDF menu | An existing document you can maintain | Phone readability and assistive-technology access |
| Hosted ordering page | Guests should place orders online | Correct location, service type, prices, and checkout flow |
For a new setup, make a mobile web page your first choice. Treat a PDF as a document that needs its own accessibility review—not simply a picture of the printed menu. DOJ guidance identifies missing text alternatives, poor contrast, and keyboard barriers as examples of inaccessible web content. [1]
Choose a short HTTPS address on a domain your restaurant controls, if possible. Keep that address unchanged when you update dishes or prices. If the menu must move, ask your website administrator to preserve the old address with an appropriate redirect; HTTP redirects can send visitors from an old URL to a new one. [2]
You do not need a new QR code for each menu edit if the encoded address stays the same. The practical setup is to update the page at that address—or manage its redirect—rather than change the printed link. This follows from how URL redirects preserve access through an existing address. [2]
If you use a hosted QR or menu service, check its terms before printing: who controls the encoded URL, what happens after a trial or cancellation, and whether you can retain access if you change providers. Do not assume those conditions are identical across services.
2. Build a readable, accessible menu page
Use this as your page brief:
- Put the restaurant name and location at the top.
- Separate breakfast, lunch, dinner, and drinks clearly.
- Keep each price next to its item and explain available sizes or options.
- Show current availability rather than leaving obsolete specials online.
- Let guests view the menu without creating an account or installing an app.
- Keep ordering optional if the code is labeled only as a menu.
Use real text and meaningful headings, not just a full-menu image. W3C recommends logically nested headings and appropriate content markup; this structure also helps screen-reader users navigate between sections. [3]
Before launch, check text contrast, meaningful image alternatives, labeled controls, and keyboard access. DOJ identifies these as relevant website accessibility considerations for businesses open to the public, including food and drink establishments. [1]
Check required menu disclosures separately
FDA menu-labeling requirements generally cover restaurants and similar establishments in chains with 20 or more locations, operating under the same name and offering substantially the same menu items. Covered establishments must disclose calories for standard menu items, provide written nutrition information upon request, and follow the applicable menu disclosure rules. A QR code is not a substitute for reviewing those obligations. [4]
For allergen notices, raw-food advisories, or other locally applicable disclosures, check the requirements with your local regulatory authority. The FDA Food Code is a model used by jurisdictions to develop their rules—not, by itself, a single nationwide restaurant code. [5]
3. Generate the QR code from the final address
Once the destination is ready:
- Open the public menu address while signed out of your website editor.
- Confirm it shows the correct restaurant, location, and service period.
- In your chosen generator, select its website or URL option, if offered.
- Paste the complete HTTPS address and create the code.
- Save a print-quality export supported by your design or printing workflow.
- Scan the saved artwork and compare the opened address with your intended destination.
If the generator introduces an intermediate address, review that dependency before ordering signs. Record the encoded address, destination, account owner, and any renewal responsibility in your operations notes.
These are tool-neutral steps; specific controls and export options depend on the service you choose.
4. Design the sign and print one proof
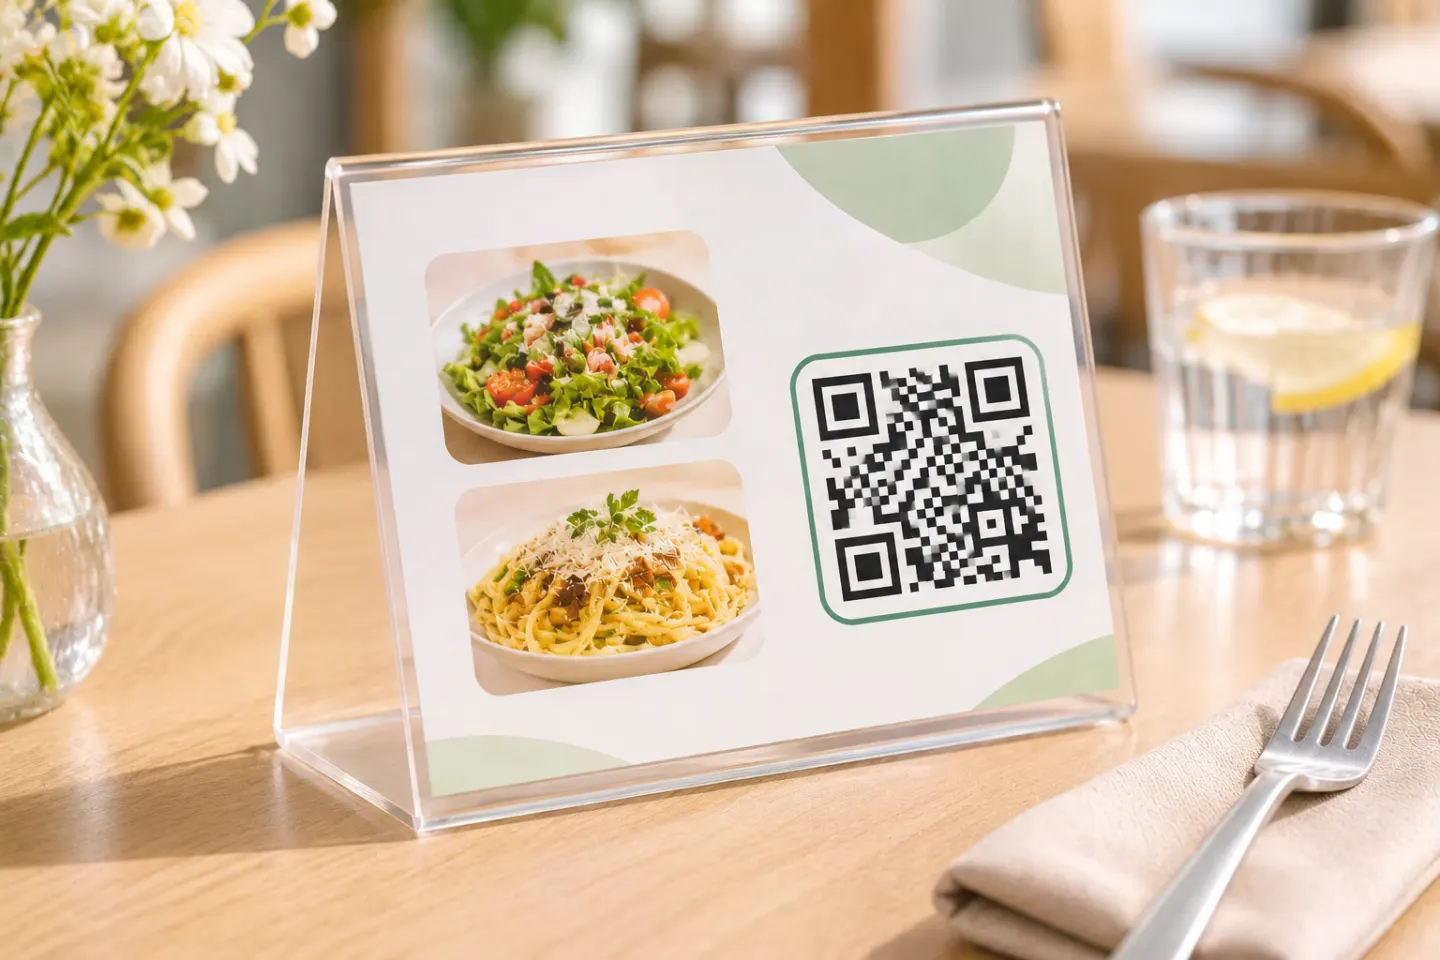
Keep the first design simple. Use dark code elements on a plain light background, and keep text, borders, and artwork outside the code’s clear margin.
For a standard QR Code, DENSO WAVE specifies a quiet zone four modules wide on every side. A module is one small square in the code—not a fixed measurement in inches. Preserve that margin when resizing or cropping your artwork. [6]
Place these elements beside the code:
- Your restaurant name
- A clear label, such as “Scan to view our menu”
- A readable menu address for guests who prefer typing
- A backup message, such as “Printed menu available—please ask”
Do not treat one print dimension as a guaranteed scanning size. DENSO WAVE’s sizing guidance depends on the symbol version and module size; test your actual artwork at its final size and intended placement. [6]
Start with one table tent or counter card before ordering a full batch.
5. Test the complete guest journey
Use the following as a launch test plan—not as a claim that any particular device or print has already passed:
- Scan the physical proof with available iPhone and Android phones.
- Try normal seated viewing positions, dining-room lighting, and different angles.
- Check the finished holder or coating for glare.
- Open the menu over cellular data as well as restaurant Wi-Fi.
- Confirm there is no staff login, permission error, or wrong-location menu.
- Check enlarged text, keyboard navigation, and a screen-reader path through categories and prices.
- If ordering is included, verify the location, service mode, cart, and checkout separately.
Record failures, revise the page or artwork, and repeat the relevant tests before approving the batch.
6. Provide another way to read the menu
Keep current printed menus available for guests with no phone, no connection, or a preference for paper. Also establish a process for accessible assistance; ordinary print will not meet every guest’s needs.
DOJ explains that effective communication depends on the communication’s nature, length, complexity, and context, as well as the person’s usual communication method. Its restaurant example includes reading a menu to a person who is blind; other aids include large print and accessible electronic text. No single backup format is universally sufficient. [7]
Train staff to offer help promptly and identify who can provide it. Do not treat backup menus as a reason to skip accessibility work on the digital page.
7. Assign maintenance and tampering checks
The FTC warns that malicious QR codes can lead to spoofed sites and describes scammers placing replacement codes over legitimate ones. It advises checking the destination URL before opening an unexpected code. [8]
For your restaurant, adopt a simple operating routine:
| When | Recommended check |
|---|---|
| Before service | Inspect signs for damage, replacement stickers, and outdated information |
| Whenever prices or availability change | Update the digital menu and relevant backup copies |
| After website, domain, or provider changes | Scan the printed code and verify the full destination path |
| On a scheduled ownership review | Confirm hosting, domain, and service renewals have a responsible owner |
These are suggested operating practices, not a regulatory inspection schedule. If a sign appears altered, remove it from service and verify the destination before replacing it.
Launch checklist
- [ ] The public menu address is correct and has an assigned owner.
- [ ] Items, prices, location, and service periods are accurate.
- [ ] The printed proof has passed your documented scan checks.
- [ ] The page has received an accessibility review.
- [ ] Staff know how to provide menu assistance and alternatives.
- [ ] Applicable disclosures have been reviewed by the responsible person.
- [ ] Maintenance, renewals, and sign inspections have assigned owners.
A dependable QR code menu starts with the destination, not the artwork. Keep the address stable, make the menu usable, test the final print, and give guests a clear alternative when scanning does not work for them.
References
[1] U.S. Department of Justice, “Guidance on Web Accessibility and the ADA” — https://www.ada.gov/resources/web-guidance/
[2] MDN Web Docs, “Redirections in HTTP” — https://developer.mozilla.org/en-US/docs/Web/HTTP/Guides/Redirections
[3] W3C WAI, “Page Structure Tutorial” — https://www.w3.org/WAI/tutorials/page-structure/
[4] FDA, “Menu Labeling Requirements” — https://www.fda.gov/food/nutrition-food-labeling-and-critical-foods/menu-labeling-requirements
[5] FDA, “FDA Food Code” — https://www.fda.gov/food/retail-food-protection/fda-food-code
[6] DENSO WAVE, “Point for determining the code area” — https://www.qrcode.com/en/howto/code.html
[7] U.S. Department of Justice, “ADA Requirements: Effective Communication” — https://www.ada.gov/resources/effective-communication/
[8] FTC, “Scammers hide harmful links in QR codes to steal your information” — https://consumer.ftc.gov/consumer-alerts/2023/12/scammers-hide-harmful-links-qr-codes-steal-your-information