For this guide, a template means the visual treatment around and within a generated QR code: its colors, frame, caption, and optional logo. It is not a substitute for correct encoding or production requirements. ISO/IEC 18004:2024 covers QR code structure, dimensions, error correction, and production quality, among other requirements. [2]
1. Define the job before choosing the design
Write a short brief before browsing templates:
- Action: What should someone reach—product instructions, a menu, registration, or another destination?
- Placement: Where will the code appear, and how much space is available?
- Reader: Is this for a customer’s phone, a retail checkout scanner, or another workflow?
- Brand treatment: Which elements actually need to be branded—the code, its surrounding panel, or just the caption?
Keep marketing and checkout requirements separate. A QR code containing an ordinary website address should not be assumed to work as a retail product-identification barcode. GS1 distinguishes QR Code with GS1 Digital Link URI syntax from other barcode options and specifies how product identifiers and attributes are encoded. [3]
Selection rule: For consumer marketing, use the checks below. For checkout or supply-chain use, have the implementation team approve the barcode requirements before a designer selects its appearance.
2. Reject templates that compromise the basics
Preserve a four-module quiet zone
A standard QR Code needs a clear margin at least four modules wide on every side. A module is one small square in the grid. Keep text, frames, illustrations, and neighboring artwork outside that margin. [4]
For example, if each module measures 0.5 mm, reserve at least 2 mm of clear space on each side. This is a margin calculation—not a recommended minimum size for the entire code. [4]
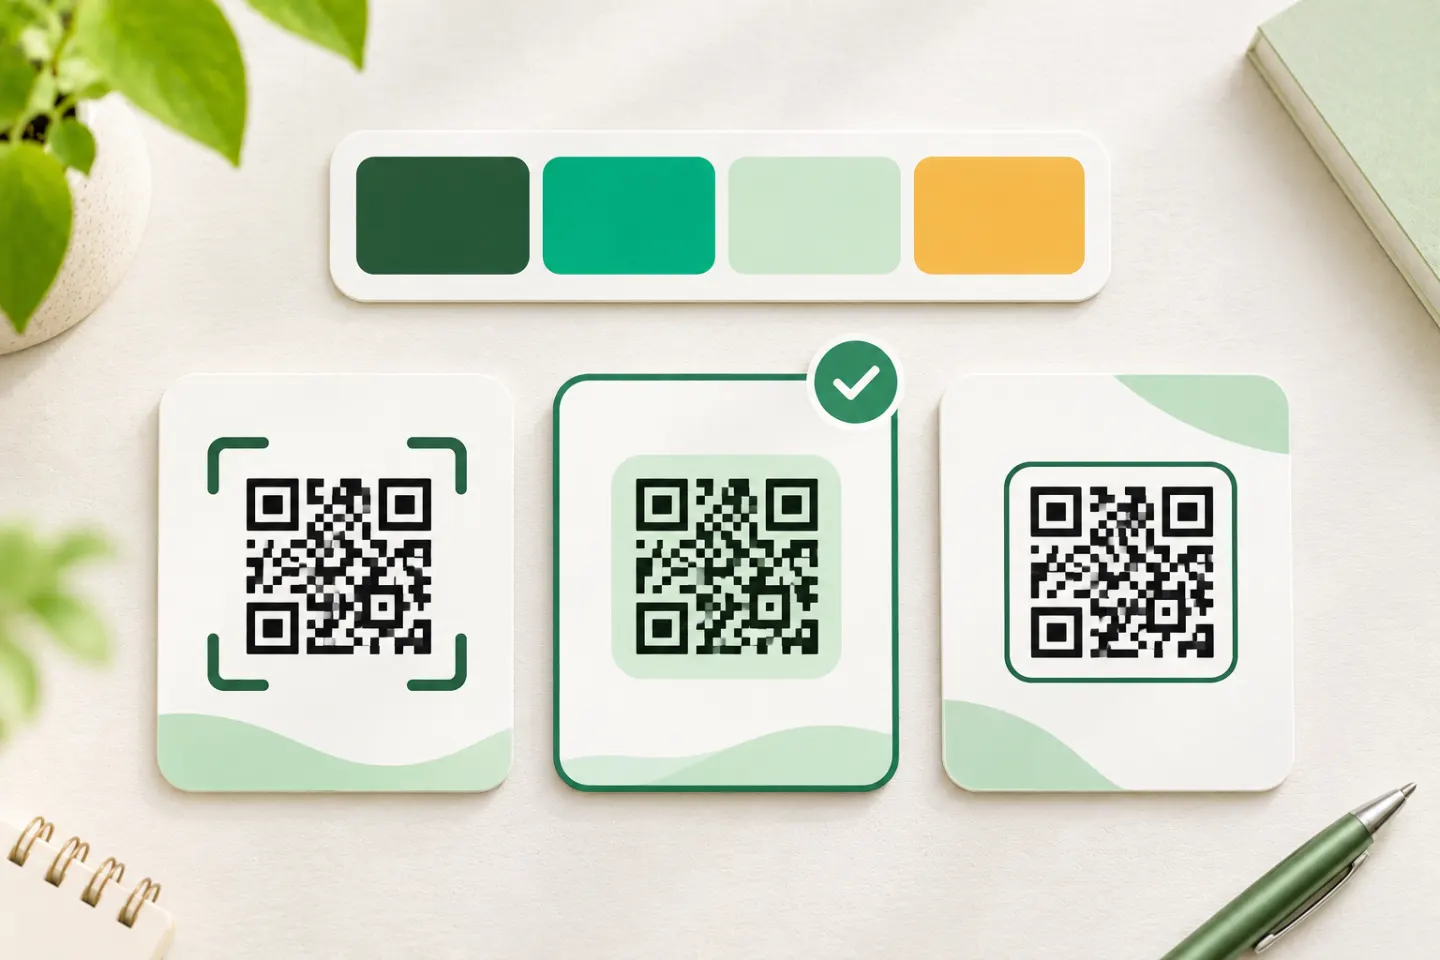
When comparing framed templates, check where the frame begins. A decorative border should surround the quiet zone, not replace it.
Prefer a regular grid and strong contrast
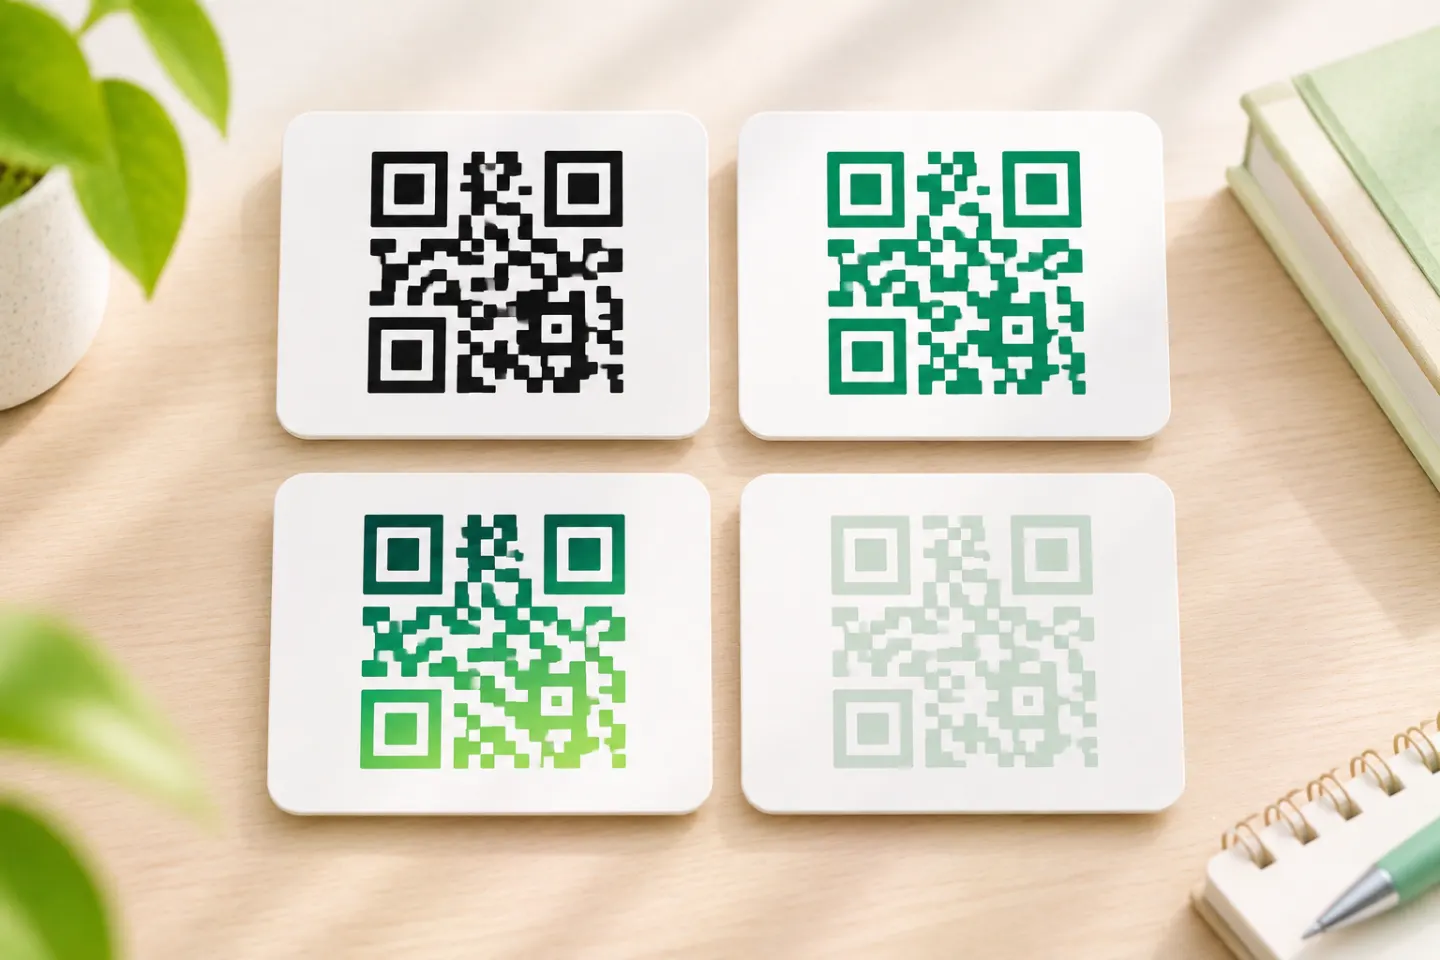
Use black modules on a white background as your baseline. GS1’s guidance favors high contrast, an even square-module grid, and intact locating patterns; it warns that distorted patterns and altered module shapes can impair reading. [5]
For a colorful brand, consider putting the strongest colors in the surrounding panel or caption. At retail POS, avoid red for dark modules: scanning and verification equipment often uses red illumination, which can make that choice problematic. [6]
Evaluate your caption’s text contrast and the code’s scannability separately. WCAG’s familiar 4.5:1 criterion concerns text and images of text; it does not establish a QR decoding threshold. [7]
Make the logo optional
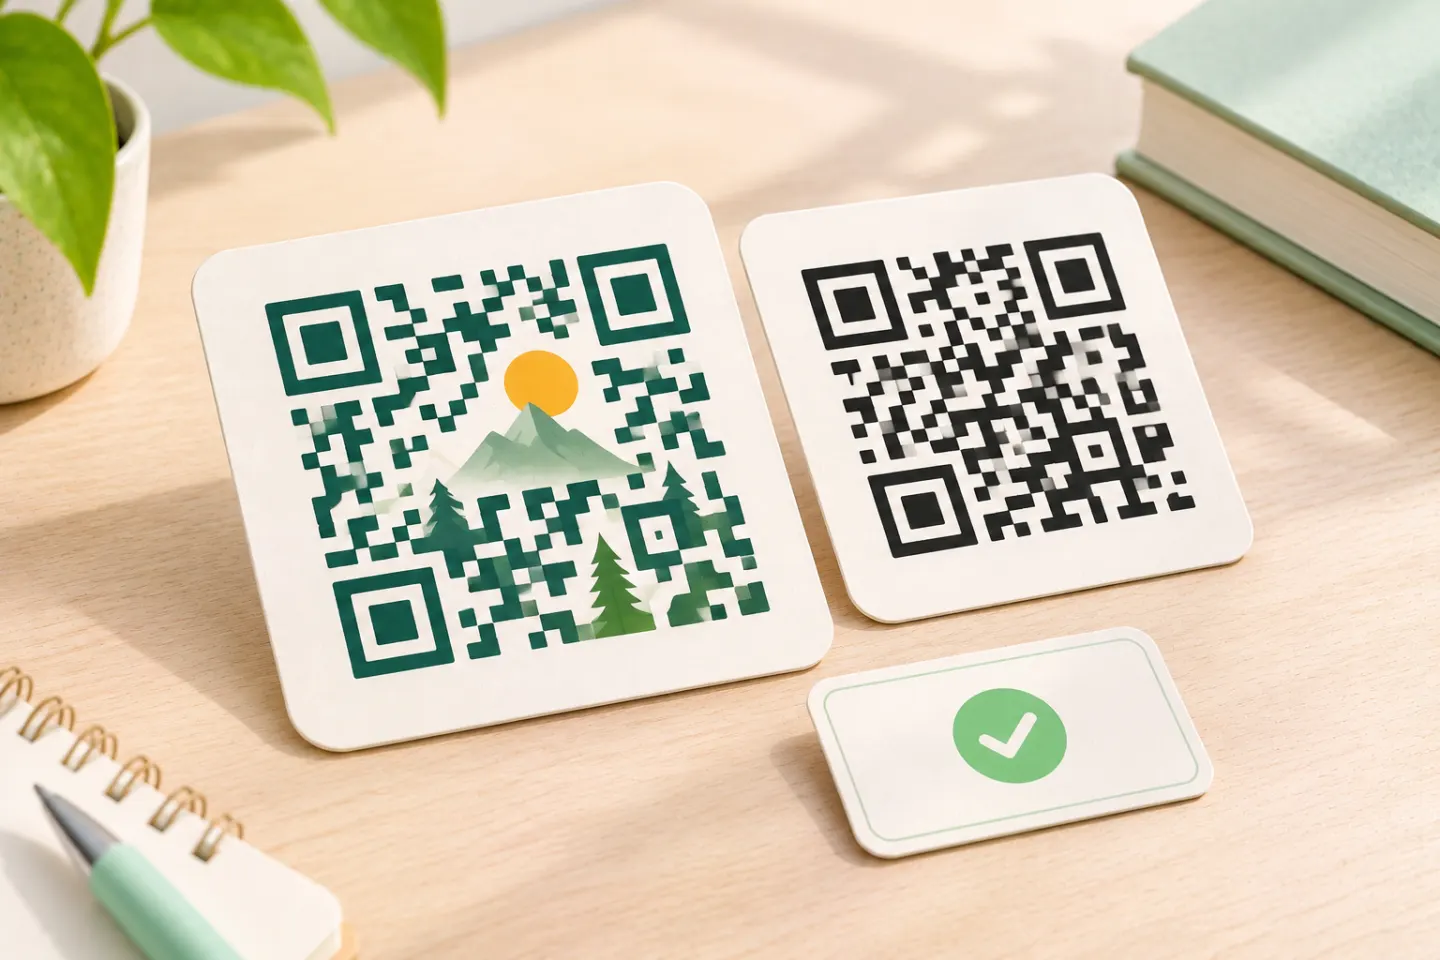
Prefer a template that still looks complete with the logo beside the code. DENSO WAVE cautions against illustrations that deform or obscure the symbol. [1]
If you want an embedded logo, do not choose its size from a universal percentage rule. Error-correction percentages describe restoration of codewords, not an equivalent area that a designer can safely cover. Higher correction levels add redundancy and can increase the required symbol size. [8]
For retail POS and supply-chain scanning, GS1 recommends avoiding barcode customization and embedded logos to support fast, efficient reading. [6]
3. Choose for the final size, not the preview
There is no single physical size that works for every template and application. The symbol’s size depends on its module count and module size; the printer and reader also impose constraints. DENSO WAVE notes that printing a small code successfully does not mean the intended scanner can resolve it. [9]
Use this shortlist when comparing designs:
| Placement | Recommended starting point | Approval check |
|---|---|---|
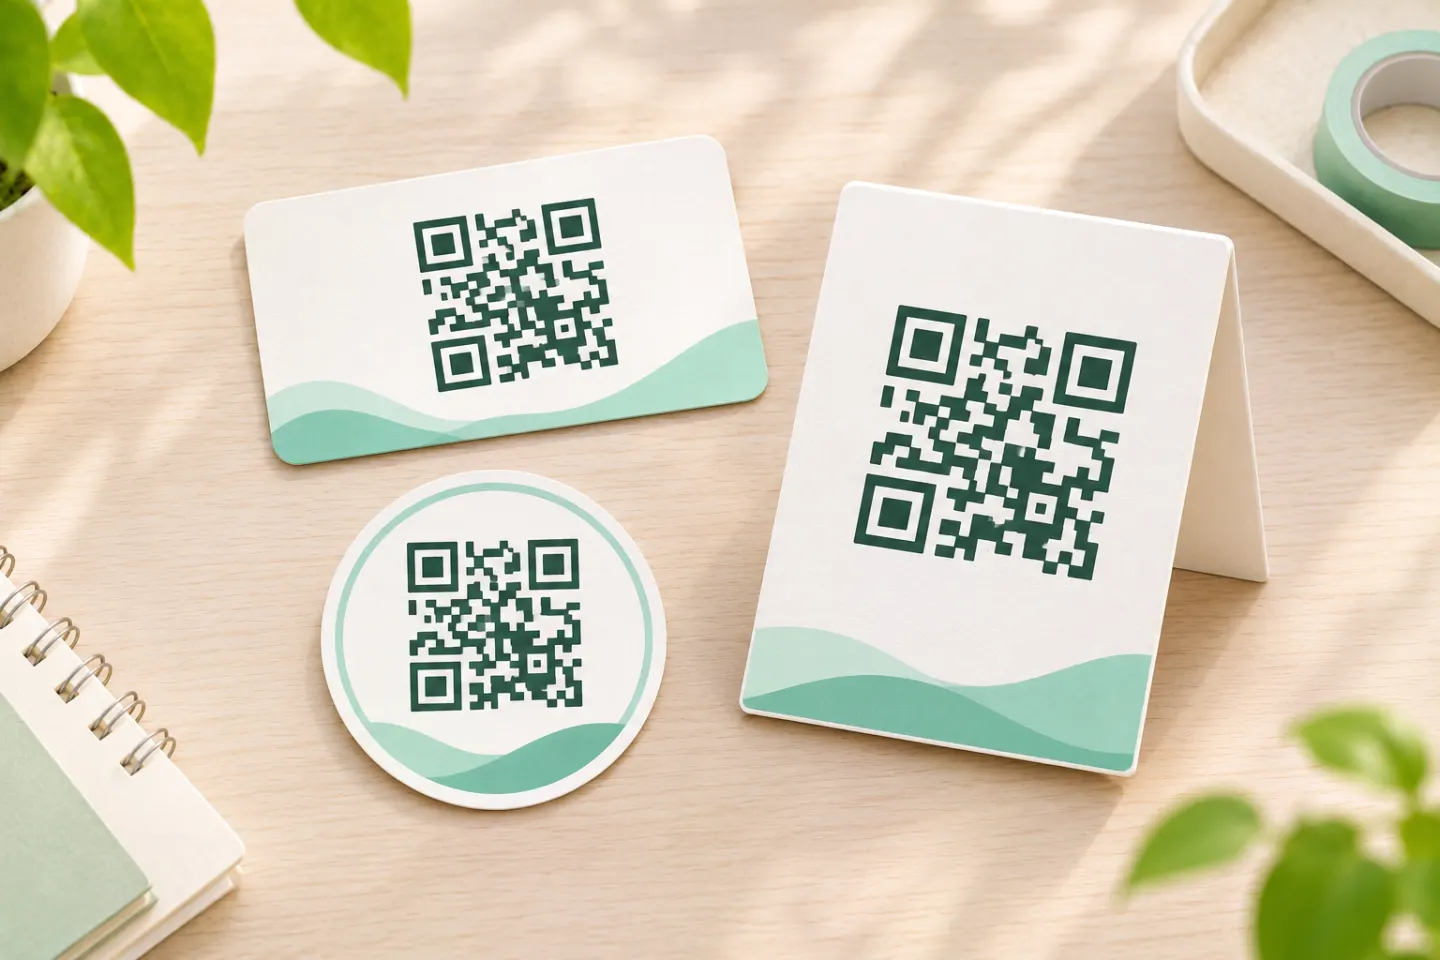
| Small label or business card | Plain code, no embedded logo, caption outside the margin | Review the actual-size output, not a zoomed preview |
| Poster or sign | Separate brand panel and clear action caption | Try the intended viewing distance |
| Curved or glossy packaging | Restrained design with a dedicated background panel | Check a production sample on the actual package |
| Website or digital document | Simple code plus a nearby clickable destination | Review the published size and link behavior |
| Retail checkout | Standards-led barcode artwork | Obtain technical approval and appropriate verification |
These are selection recommendations, not tested size specifications. Ask your designer or printer for the file format they need, and check that the exported artwork preserves the grid, proportions, and quiet zone.
4. Approve the finished asset—not just the template
Use the following as an acceptance checklist. These are recommended checks to perform; no device or print testing was conducted for this article.
- Use the final encoded content. Evaluate the actual code intended for publication, not placeholder artwork.
- Inspect the placed asset. Check its margin, proportions, background, and any logo after inserting it into the layout.
- Review at actual size. For print, request a sample using the intended material and finish. For digital use, inspect the published display size.
- Try representative readers and conditions. Include more than one phone for consumer use, relevant lighting, and the expected distance or angle. For operational use, involve the intended scanning equipment.
- Confirm the destination separately. Check that the decoded content is correct and that the destination loads and supports the promised action.
- Record approval. Save the final asset, dimensions, destination, and test conditions. Repeat relevant checks after changing the code or layout.
A successful phone scan is not formal retail barcode verification. GS1 recommends verification to assess barcode quality, and notes that verification does not validate the linked web experience; that requires a separate process. [5]
References
[1] DENSO WAVE, FAQ — https://www.qrcode.com/en/faq.html
[2] ISO, ISO/IEC 18004:2024—QR code bar code symbology specification (public abstract) — https://www.iso.org/standard/83389.html
[3] GS1 GO, What is the difference between the 2D barcode options? — https://support.gs1.org/support/solutions/articles/43000756000-what-is-the-difference-between-the-2d-barcode-options-gs1-datamatrix-data-matrix-with-gs1-digital-l
[4] DENSO WAVE, Point for determining the code area — https://www.qrcode.com/en/howto/code.html
[5] GS1, 2D Barcodes at Retail Point-of-Sale Implementation Guideline, Release 1.1.0 — https://ref.gs1.org/guidelines/2d-in-retail/
[6] GS1, GS1 2D Barcode Colour & Quality Guide, Release 1.0, February 2025 — https://ref.gs1.org/docs/2025/GS1-2D-colour-guide-i10-f-25-02-10
[7] W3C WAI, Understanding SC 1.4.3: Contrast (Minimum) — https://www.w3.org/WAI/WCAG22/Understanding/contrast-minimum.html
[8] DENSO WAVE, Error correction feature — https://www.qrcode.com/en/about/error_correction.html
[9] DENSO WAVE, Point for setting the module size — https://www.qrcode.com/en/howto/cell.html