The important part is not just getting the code to scan: guests must also be able to open the page and submit their response. Follow the steps below before ordering your invitations.
1. Prepare the RSVP page
Choose the exact page where guests can respond—not a homepage or an event listing that makes them search for the form. University of Illinois Extension specifically recommends linking directly to an event registration form rather than a calendar listing. [2]
For a simple gathering, we recommend these fields:
- Guest or household name
- Attending or declining
- Names or number of people attending, within the invitation’s guest allowance
- Meal selection or dietary needs, if relevant
Put the RSVP deadline on both the invitation and the form. Avoid asking guests to reconfirm information you do not need.
If you use Google Forms
Google’s documented sharing process requires publishing the form before responders can access it. Review who can respond, publish it, then use Copy responder link from the sharing or published-form controls. Do not copy your editing address from the browser bar. [1]
Check two settings carefully:
- Sign-in: Google says enabling Limit to 1 response requires respondents to sign in to a Google Account.
- Privacy: View results summary can expose response text or charts to people who can respond. Leave it off for private guest information. [1]
Before proceeding, open the responder link while signed out and submit a sample RSVP. For a restricted guest list, test with an authorized guest account instead. These are recommended checks, not tests performed for this article.
2. Generate and save the QR code
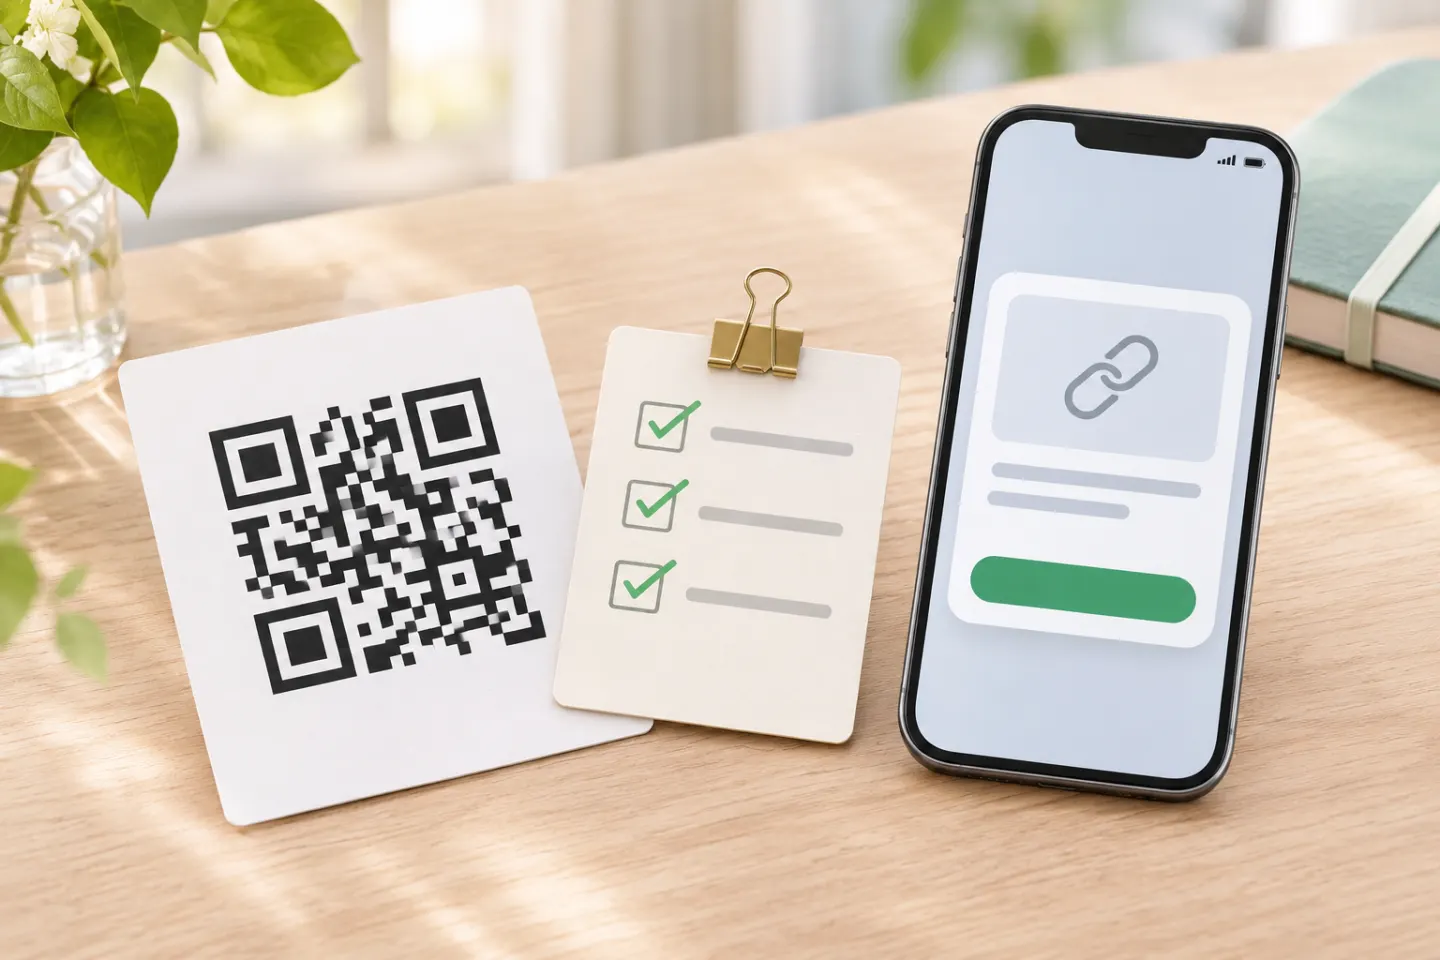
Use a URL QR-code generator with your final responder link. As one documented example, Adobe Express lets you enter a URL, generate the code, and download the image for use in another design. Its documentation identifies its generated codes as static. No particular generator is required for this workflow. [3]
Recommended sequence:
- Paste the guest-facing RSVP URL into the generator’s URL field.
- Generate a plain, high-contrast code.
- Download the QR image rather than taking a screenshot.
- Scan that downloaded image and confirm the destination before placing it in your invitation.
Decide whether the link needs to change later
A static QR code’s encoded destination cannot be rewritten after creation; a dynamic-code service can allow the destination to be updated without replacing the printed code. Check that the service lets your account edit the destination before you print. [3][4]
For a straightforward invitation, our recommendation is to finalize the RSVP address first. If you expect changes, confirm how your chosen service handles destination updates and how long access remains available before printing.
3. Insert it into the invitation design
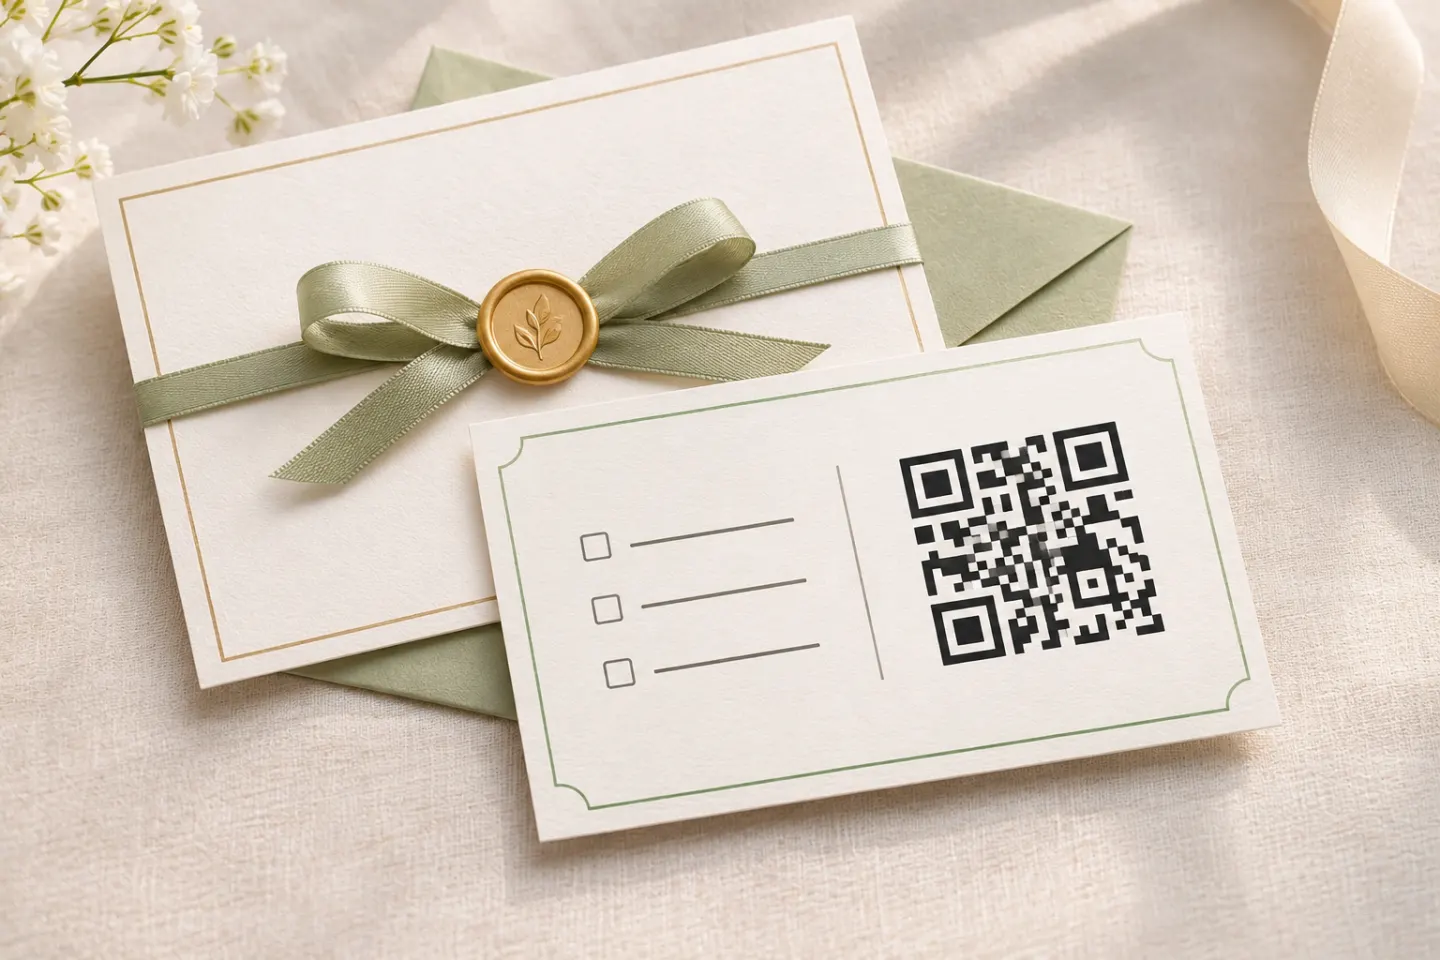
In your design application, import the downloaded QR image using its image-upload or insert function. Place it beside the RSVP instructions—on the back of the card or on a separate insert if the front is crowded. These are layout recommendations, not application-specific menu instructions.
Keep the image square and use black on a solid white background as a conservative default. Illinois Extension’s print guidance recommends that treatment, along with a written short URL and a call to action. [2]
Do not crop away the blank border. DENSO WAVE specifies a four-module quiet zone on every side of a standard QR Code. A module is one small square in the code’s grid; this clear space must remain free of text, borders, or decorative artwork. [5]
4. Choose a practical print size
For an invitation, leave enough room for the full symbol, its blank margin and a short label. Print one proof at the intended size and test it before adjusting the layout. [5][6]
DENSO WAVE’s sizing explanation calculates the printed area from the symbol’s module count, module size, and quiet zone. That is why one fixed minimum cannot cover every code and printing setup. [5]
If your layout only works by squeezing the code into a tiny corner, use a larger insert or simplify the layout instead. Have the printer confirm that the QR image remains sharp at the intended output size.
5. Add instructions and a backup RSVP route
Do not leave the square unexplained. RSVPify recommends including both the event URL and instructions on paper invitations. [6]
Here are original wording options; replace the bracketed details before printing:
Scan to RSVP by [deadline]. Or visit: [your RSVP web address]
Kindly reply by [deadline]. Scan the code or visit [your RSVP web address].
Print a readable address that reaches the same response page, even if it is a shorter redirect rather than the exact URL encoded in the QR. If appropriate for your guests, also offer a phone or email response option.
For an emailed or texted invitation, our recommendation is to include a clickable RSVP link rather than making the QR code the only route.
6. Test the final invitation before printing the batch
Test the exported invitation—not just the original QR image. Request an actual-size proof, ideally using the intended paper and finish. RSVPify explicitly recommends a test print before producing all invitations. [6]
Use this preflight checklist:
- Scan the printed proof with more than one phone if available.
- Confirm it opens the correct event and response page.
- Check guest access without relying on the organizer’s signed-in session.
- Submit both an acceptance and a decline, including any conditional questions.
- Confirm the host receives the expected responses.
- Type the printed backup address manually.
- Recheck the final file after any resizing or layout changes.
Ready-to-print rule: approve the invitation only after you can complete the entire guest journey—from scanning the proof to seeing a successful submission. A scan alone is not the finish line.
References
[1] Google Docs Editors Help — Publish & share your form with responders — https://support.google.com/docs/answer/2839588?hl=en
[2] University of Illinois Extension — QR Codes Best Practices Guide — https://extension.illinois.edu/sites/default/files/qr_code_guidelines.pdf
[3] Adobe Express — QR code generator and FAQ — https://www.adobe.com/express/feature/image/qr-code-generator
[4] GS1. Redirection: from scan to content. https://ref.gs1.org/docs/2024/redirection-from-scan-to-content
[5] DENSO WAVE — Point for determining the code area — https://www.qrcode.com/en/howto/code.html
[6] RSVPify Help Center — Tips & recommendations for using the RSVP by QR Code feature — https://help.rsvpify.com/en/articles/5270494-tips-recommendations-for-using-the-rsvp-by-qr-code-feature