The recommendations below focus on choosing the right destination, collecting usable responses, and checking the finished stationery—not on a particular wedding platform or QR-code generator.
Choose the destination before making the code
Start with what guests need to do at that moment. Use this planning table rather than placing several competing codes on one card.
| Placement | Recommended destination | Suggested label |
|---|---|---|
| Save-the-date | Wedding homepage with date and location | Wedding details and travel updates |
| Invitation details card | Guest-information page with an obvious RSVP link | RSVP and weekend details |
| Dedicated RSVP card | Guest-facing response form | Scan to RSVP by [deadline] |
| Welcome sign | Schedule, parking, and transportation page | View the weekend schedule |
| Reception table card | Photo-upload page | Share your wedding photos |
For an invitation code, put the RSVP deadline and response button near the top of the destination page. For a dedicated RSVP card, consider linking directly to the form.
Treat photo sharing, registry links, and playlists as optional extras. Avoid making guests navigate through them to find ceremony directions or submit their response.
How to set up a wedding QR code
1. Prepare a stable guest-facing page
Create the page or form first. Check the couple’s names, event date, venue address, RSVP deadline, and contact information before generating the code.
Keep the page’s address stable while updating its contents. W3C’s guidance on persistent web addresses explains why changing URLs breaks existing links; applied to printed invitations, the practical lesson is to preserve the address guests already have. Updating parking instructions at that same address is useful—not a mistake. [1]
2. Check who can open and submit the form
Choose the guest-facing response link, not a link intended for editing. Review publishing, access, and sign-in requirements. For example, Google Forms documents separate responder links and access controls, and says enabling its one-response limit requires respondents to sign in to a Google Account. Those conditions are platform-specific, not properties of QR codes. [2]
As a pre-print check, open the destination while signed out of the owner’s account and submit a sample response. If you intentionally require authentication, test with an invited guest account instead. Confirm that the response reaches the host’s records, then remove the test entry.
3. Generate the code from the intended URL
Use your chosen tool to encode the destination address. Before downloading, check the full URL for spelling errors and confirm that it opens the intended page.
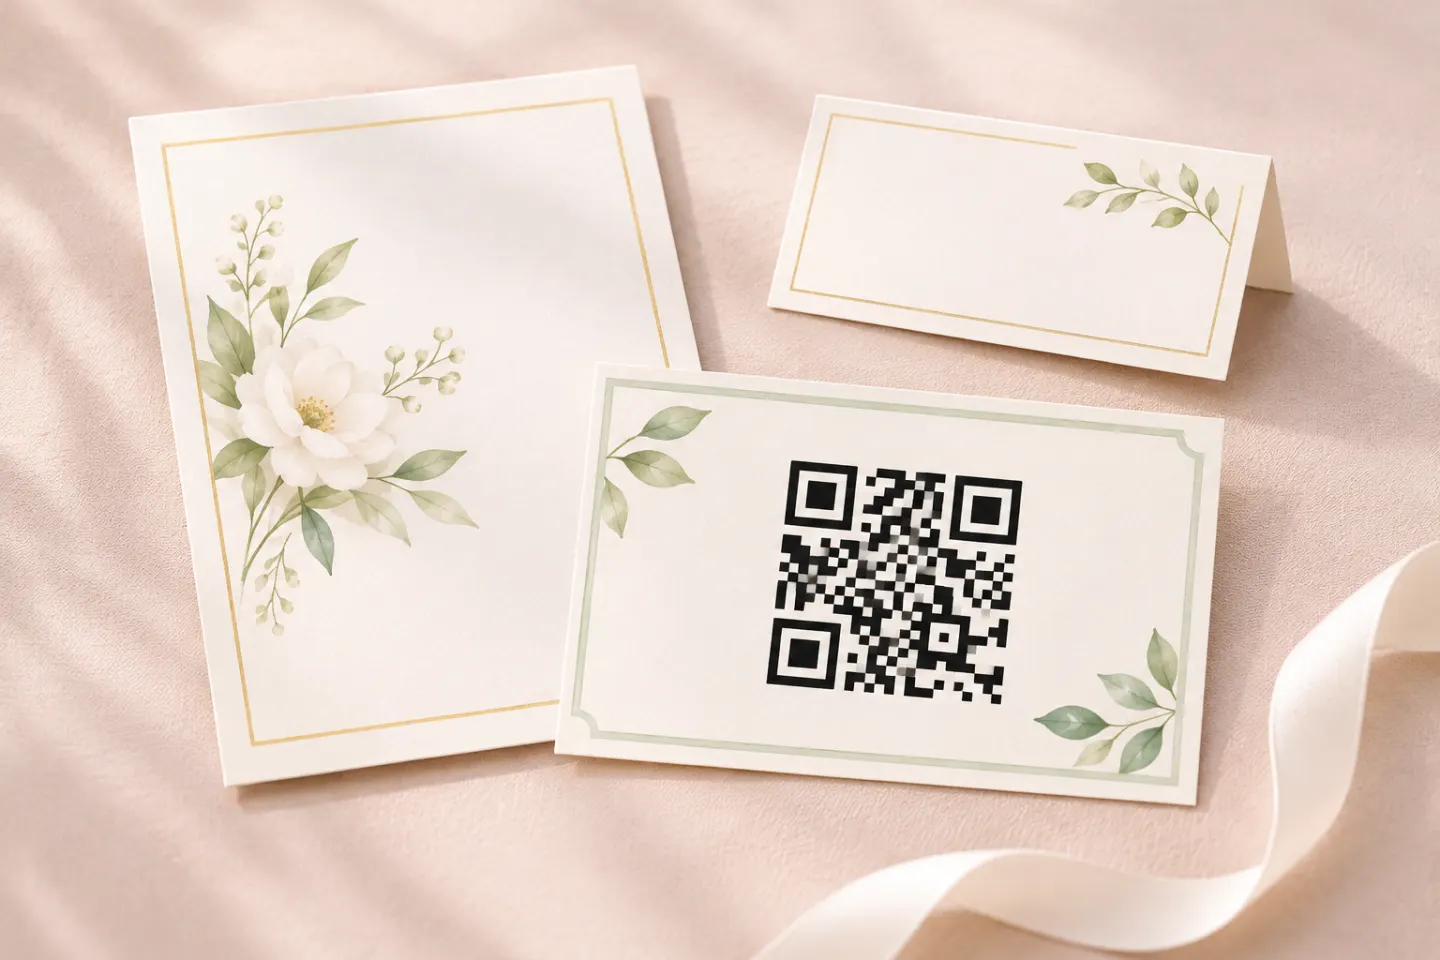
Avoid adding unnecessary artwork inside the code. DENSO WAVE warns that image processing and decoration can make QR codes unreadable. Keep decorative borders and wedding motifs outside the code and its clear margin. [3]
4. Add a label and a backup
Place a short instruction beside the code and print a readable web address beneath it. Include a phone or email RSVP option if that better serves your guests. In an emailed invitation, provide a normal clickable link too.
These are usability recommendations, not requirements imposed by a QR-code standard.
Build an RSVP form that answers the planning questions
For a typical wedding, consider collecting:
- Invited guest or household name
- Accepts or declines
- Names of the invited people attending
- Meal selection for each attendee, if needed
- Dietary or accessibility requests relevant to your arrangements
- A contact method, only if needed for follow-up
State who is invited rather than relying on an unrestricted “number of guests” field. If you need responses for several events, label each event separately. Explain how guests should request a correction after submitting.
Use clear labels for every field. W3C’s accessible-forms guidance recommends labels that identify each control and are properly associated with it so assistive technology can present the correct information. Ask your platform provider about accessibility if you cannot inspect or change the form yourself. [4]
Privacy check: Keep guest responses out of public results views. Google Forms, for example, warns that enabling response summaries makes full-text responses or charts visible to anyone who can respond. Review that setting before collecting names, dietary requests, or other personal details. [2]
As an editorial privacy recommendation, collect only what your arrangements require, limit access to the people handling those arrangements, and decide when to delete the records.
What to put on the guest-information page
Use short sections with descriptive headings:
- When and where: Ceremony and reception times, full addresses, and map links.
- Getting there: Parking entrance, shuttle pickup points, and transportation timing.
- Travel: Hotel booking details and any reservation deadline.
- What to expect: Dress code, indoor or outdoor setting, and relevant venue-access information.
- Need help? A designated contact and a non-scan way to reach them.
Keep private-event details separate when they apply only to certain invitees. For essential day-of instructions, plan a printed or staffed alternative instead of depending entirely on guests’ mobile internet access.
Design and print checks
Preserve the clear margin
For a standard QR Code, DENSO WAVE specifies an empty margin at least four modules wide on every side. A module is one small square in the pattern. Keep text, borders, and illustrations outside that margin. [5]
Do not assume one size works everywhere
QR-code dimensions depend on the pattern’s version, module size, and margin. DENSO WAVE also says module sizing must account for the printer and reading device. Its technical examples are not universal minimum sizes for wedding stationery scanned by phones. [5][6]
For your design brief, request a dark code on a plain light background, without stretching or cropping. Prefer a nonreflective area over foil, glitter, or a busy illustration. These are conservative production recommendations, not a guarantee of scanning performance.
Approve a physical proof
Before ordering the full print run:
- Print at the final size on representative stock and finish.
- Scan the proof using more than one available phone.
- For signs, check the expected viewing distance and lighting.
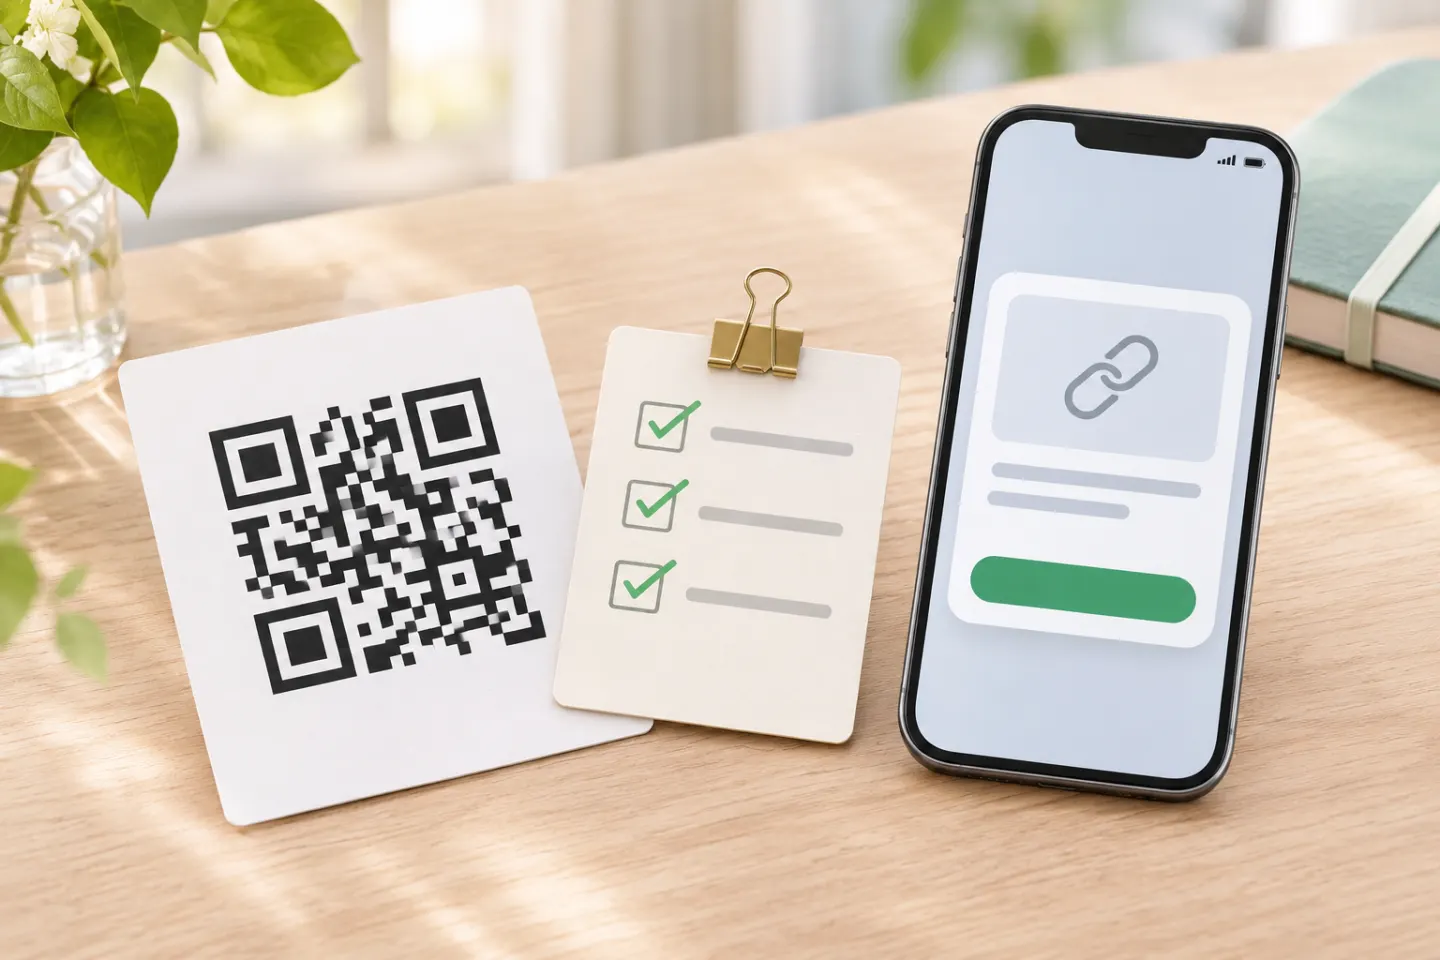
- Follow the link and complete the intended task—not just the scan.
- Type the backup address to check it too.
- Recheck after any artwork or destination changes.
No physical proof or device testing was performed for this article; these are checks for your production process.
Help guests recognize the real link
The FTC warns that scammers can hide harmful links in QR codes and cover legitimate codes with replacements. It advises inspecting the URL before opening it and looking for misspellings or switched letters. [7]
For your wedding materials, use a destination you recognize, label the purpose clearly, and print the expected web address. Check publicly accessible signs for unexpected stickers. These are practical applications of the FTC’s guidance, not wedding-specific security standards.
Ready-to-adapt wording
RSVP card
Please RSVP by [Month Day]. Scan the code or visit [wedding web address]. Prefer to reply another way? Contact [name and phone/email].
Guest-information card
Find directions, hotel details, and our weekend schedule by scanning the code or visiting [wedding web address].
The best wedding QR code is an optional shortcut to a clear, working page. Preserve the destination address, check guest permissions and privacy settings, and approve the printed proof before sending invitations.
References
[1] W3C, Cool URIs don’t change — https://www.w3.org/Provider/Style/URI.html.en
[2] Google Docs Editors Help, Publish & share your form with responders — https://support.google.com/docs/answer/2839588
[3] DENSO WAVE, Generating a QR Code — https://www.qrcode.com/en/howto/generate.html
[4] W3C Web Accessibility Initiative, Labeling Controls — https://www.w3.org/WAI/tutorials/forms/labels/
[5] DENSO WAVE, Point for determining the code area — https://www.qrcode.com/en/howto/code.html
[6] DENSO WAVE. Point for setting the module size. https://www.qrcode.com/en/howto/cell.html
[7] FTC Consumer Advice, Scammers hide harmful links in QR codes to steal your information — https://consumer.ftc.gov/consumer-alerts/2023/12/scammers-hide-harmful-links-qr-codes-steal-your-information