There is no single QR-code size that fits every poster and flyer. A hand-held flyer and a poster viewed across a room have different constraints. Online size rules also vary, so treat any starting measurement as a draft, not a guarantee. The printed proof and the actual scan distance decide whether the design is ready.
1. Decide what the scan should do
Choose one primary destination before placing the code. It might be an event registration page, a menu, a product page, a map, or a short information page. The destination should match the promise printed beside the code and work well on a phone.
Write a short call to action (CTA) that tells people what they get or can do, such as “View the event schedule” or “See the full menu.” Avoid relying on a bare “Scan me” if the benefit is not obvious. Keep the CTA next to the code so the relationship is clear, and leave enough visual space around both elements that they do not compete with the headline or essential details.
If the audience may not want to scan, add a readable short URL or another practical way to reach the same information. This also helps someone viewing a digital copy of the flyer, where scanning the screen with the same phone may be inconvenient.
If you need a new static QR image, QRHyper Web lets you choose a content type, enter the final destination, optionally adjust the appearance, review the preview, and download a PNG without creating an account. Place that image in your poster or flyer layout; QRHyper creates the code image but does not print the piece or provide a managed destination update. Verify the destination before finalizing the artwork.
2. Plan around the placement and viewing distance
First decide whether the piece will be held, placed on a counter, pinned to a board, or mounted on a wall. Note where a person is likely to stand and whether they can move closer. A flyer in someone’s hand is usually scanned at arm’s length; a wall poster may need to work from farther away, or it may need to invite people to approach.
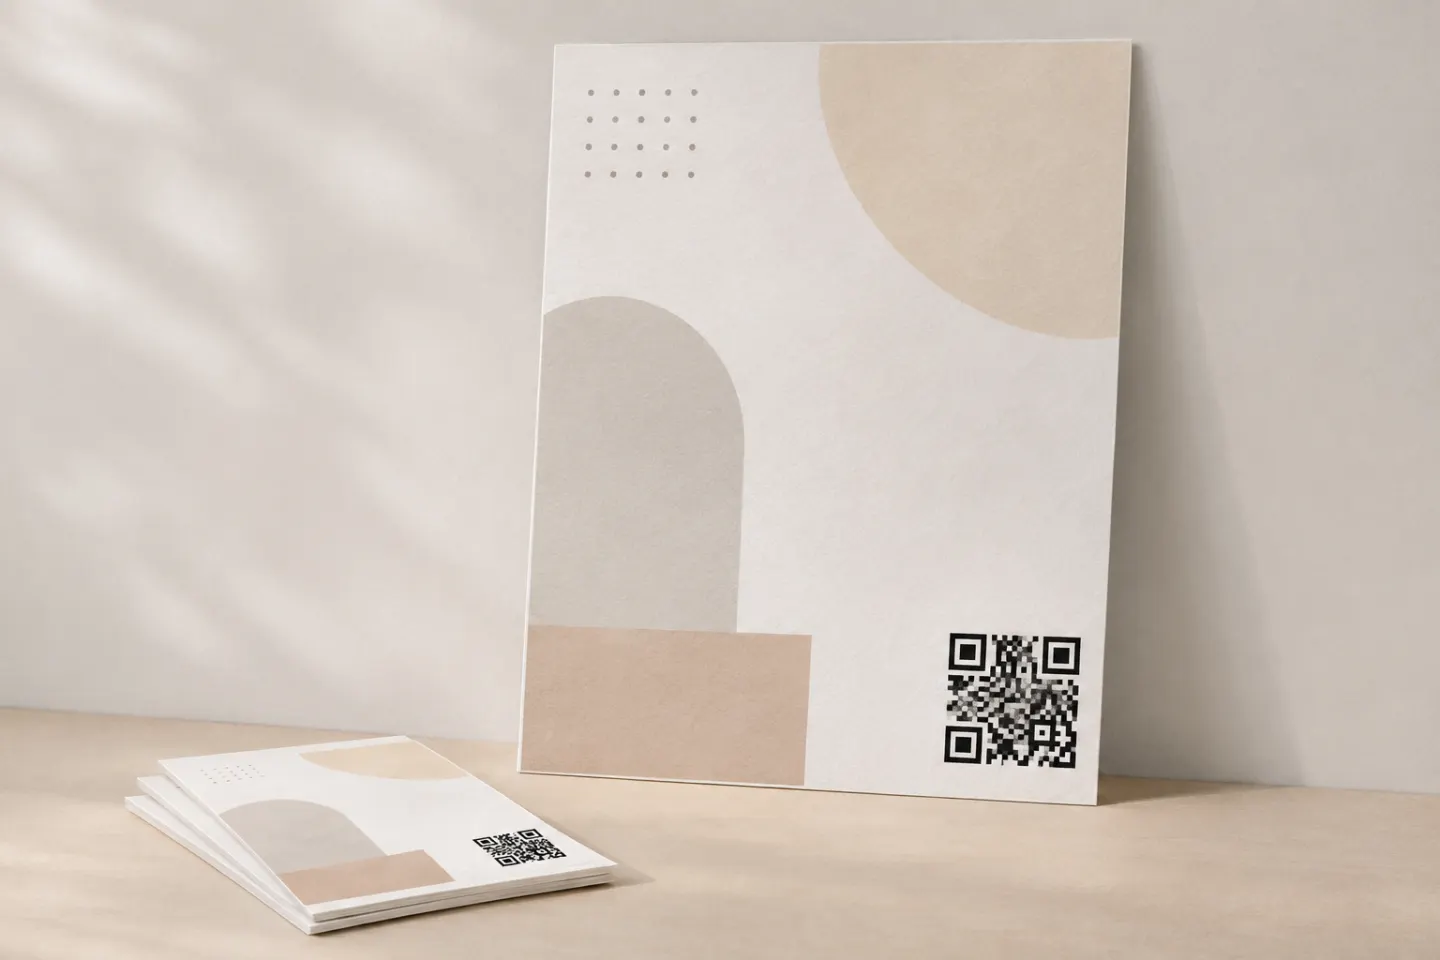
Place the code where it can be found without interrupting the main message. Keep it away from folds, trim edges, busy photographs, glossy reflections, and areas likely to be covered by a hand, clip, frame, or other object. On a poster, do not assume a large code at the bottom will be noticed from across the room: include a visible CTA and make sure the code remains reachable at the intended scan position.
Set a provisional size in the design, then print a proof at the actual finished size. Test from the farthest position where you expect someone to scan. If it fails, enlarge the code, move it closer to the expected user, or simplify its destination data so the symbol can use fewer modules. DENSO WAVE explains that the symbol version and module size determine the symbol’s dimensions; its QR guidance also requires a clear four-module-wide margin around the code.[1] That margin is often called the quiet zone. Keep other text, borders, and graphics out of it.
Do not shrink a code merely to make the layout look cleaner. If the needed code area does not fit, revise the composition or shorten the encoded content rather than removing the clear margin. The right dimensions depend on the code and viewing situation, so confirm the finished print in context instead of trusting a universal distance-to-size ratio.
3. Prepare a print-ready design
Export or place the QR image at the final resolution and size required by your design workflow or print provider. Avoid stretching it unevenly, cropping its edges, or placing a logo or decorative element over the code. Use strong contrast and a quiet background; do not put a photograph, pattern, or text inside the clear margin. If the design uses custom colors, test the actual printed version rather than assuming the screen preview will look the same on paper.
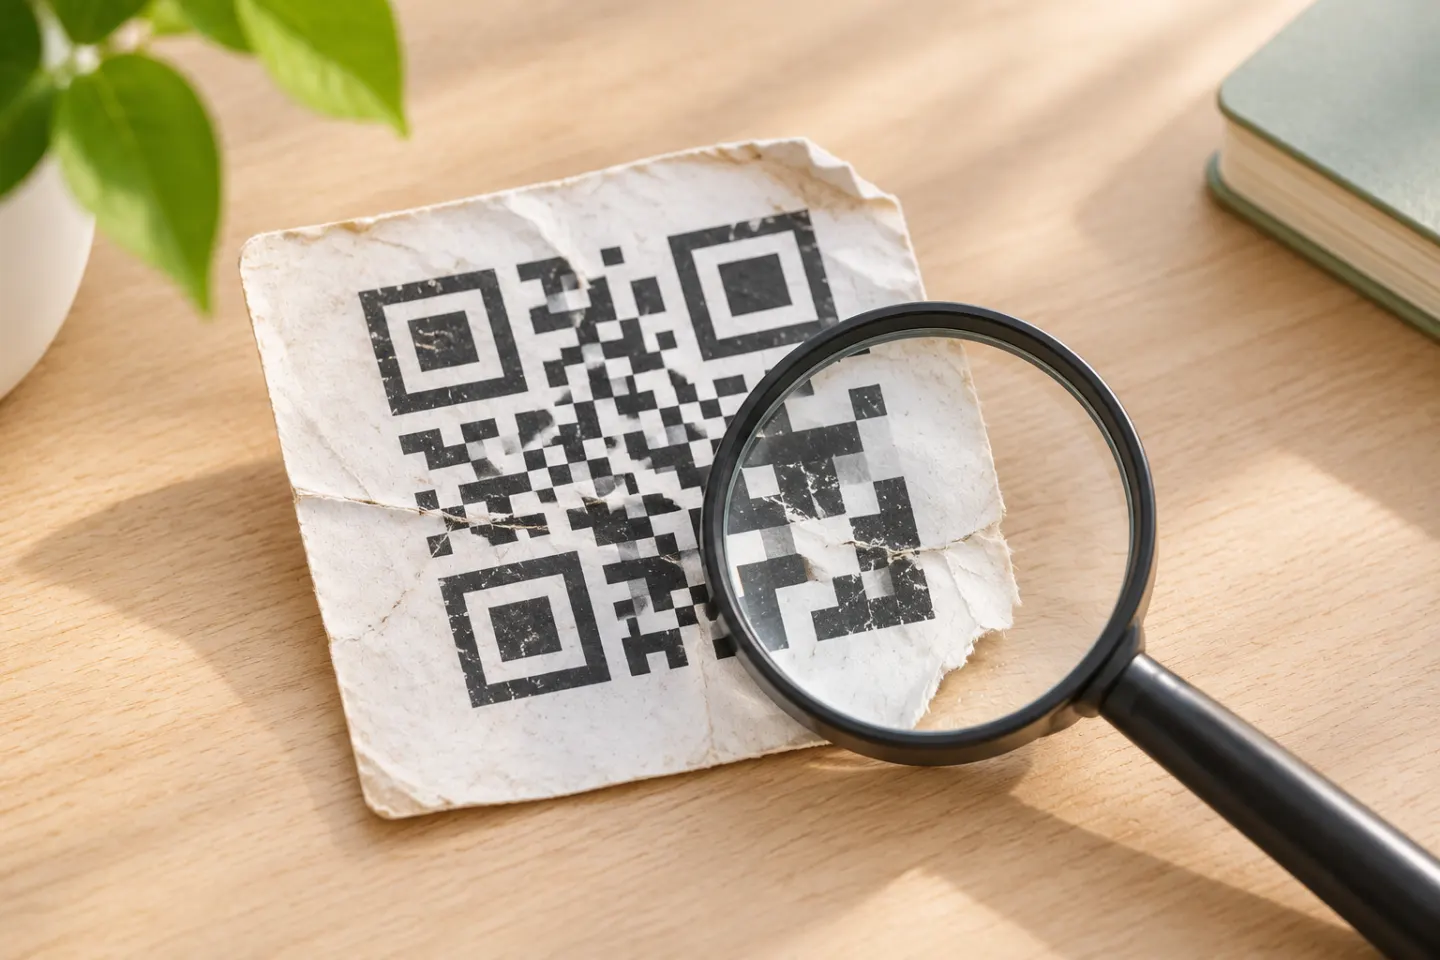
Ask the printer which file format, color setup, bleed, and proof process it needs. These requirements depend on the printer and product, so do not assume that one export preset works everywhere. Check the proof for clipping, blur, unexpected color shifts, folds, lamination glare, and whether the printed code has retained its clear margin.
4. Test the complete scan journey
Scan the physical proof, not only the image on your monitor. Use the final print size, material, mounting method, lighting, and expected viewing distance. Test from more than one likely position and angle, and ask someone unfamiliar with the design to find the CTA and scan without coaching.
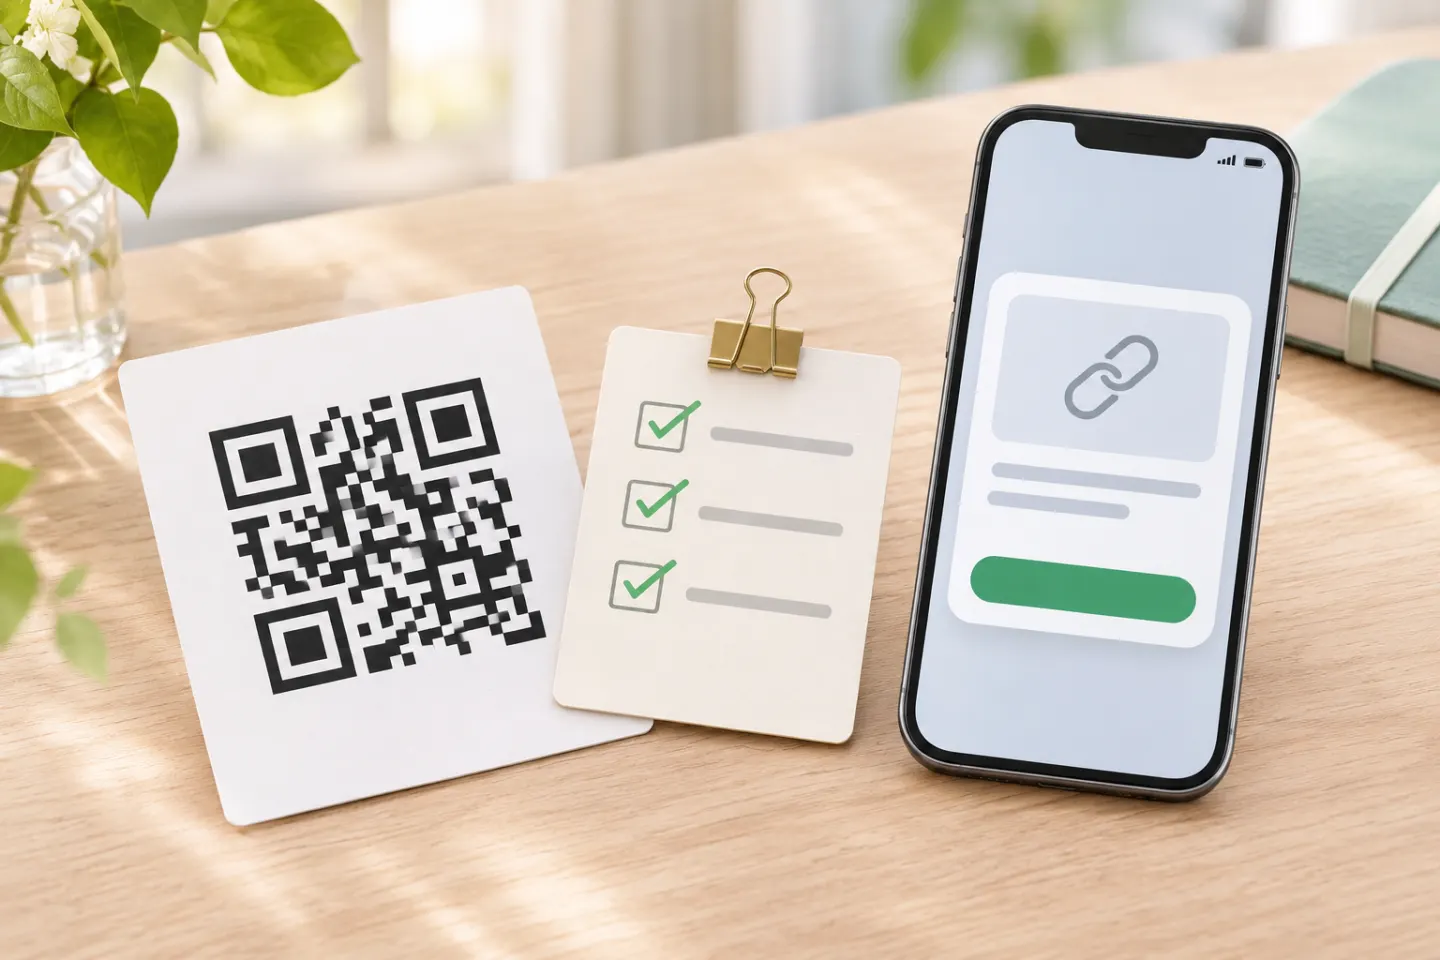
Try at least two phones if available, ideally one iPhone and one Android device. Apple’s instructions describe scanning with the Camera app or Code Scanner and tapping the displayed link.[2] Google’s Pixel instructions say to keep the entire code in view and, when troubleshooting, hold steady, use good lighting, avoid glare or shadows, and move closer while keeping the full square visible.[3] These details make the proof test more useful than a quick scan from a desk under ideal lighting.
Record the result:
| Check | Pass condition |
|---|---|
| CTA and destination | A reader can tell what the scan offers; the opened page matches that promise. |
| Intended position | The code can be found and scanned from the planned distance and angle. |
| Printed quality | The code is sharp, not clipped, and has a clear margin on all sides. |
| Devices and light | The proof scans on the available phone types in representative lighting without needing repeated guesses. |
| Landing page | The link opens the right mobile-ready content and the next action is clear. |
| Fallback | The short URL or alternate route is readable if scanning is not practical. |
If a check fails, correct the design or destination and print another proof. Do not send a large run to production based only on a successful scan of the screen version.
Common poster and flyer QR-code problems
- People do not know why to scan: Replace a generic label with a concrete CTA tied to the destination.
- The code fails from the expected position: Increase its size, change its placement, or invite people to approach; then retest at the same position.
- Text or decoration crowds the edge: Restore the clear margin. QR codes need a four-module-wide margin on all sides according to DENSO WAVE.[1]
- The printed version fails although the design preview scans: Check final print sharpness, contrast, glare, shadows, and whether the full code remains visible to the phone camera.[3]
- The QR code opens the wrong page: Verify the encoded destination before approval and scan the final proof again after any artwork or link change.
- A digital flyer is being viewed on the same phone: Include a readable URL or alternate way to continue.
Final preflight checklist
Before approving a poster or flyer, confirm that the destination is correct, the CTA explains the benefit, the code is placed for the real viewing situation, and the required clear margin is intact. Then scan a proof at final size, from the expected position, with representative lighting and more than one phone where possible. Approve the print only after the complete journey—from noticing the CTA to reaching the intended mobile page—works as designed.
References
[1] DENSO WAVE. “Point for determining the code area.” https://www.qrcode.com/en/howto/code.html
[2] Apple Support. “Scan a QR code with your iPhone or iPad.” https://support.apple.com/en-us/102680
[3] Google Pixel Phone Help. “Scan QR codes with your Pixel phone.” https://support.google.com/pixelphone/answer/16561572?hl=en