1. Decide what each sticker should do
Start with the destination: a web page, menu, product information, event details, or another resource. Open that destination on a phone before you generate the QR code. Check that the page is current, loads on a mobile browser, and contains what a person expects to find after scanning.
If every sticker in the batch should lead to the same place, use the same confirmed destination in the design. If different items need different destinations, keep a simple mapping between each item and its code before printing; do not rely on memory to match labels later. Make one sample first and scan it to confirm the destination is correct.
If you need to create a new static code for the label, the QRHyper website workflow is: choose the content type (for a web destination, choose Website), enter the confirmed URL, optionally adjust the appearance, review the preview, and download the PNG. Then place that image in your label layout and proof it on the actual stock. The website creates the code image; it does not print the sticker or establish a managed destination update. Confirm the encoded destination before producing the batch and check current Web options before starting.
Decide where the sticker will go and who will scan it. A label on a flat product box, a shelf tag, and a sticker on a reusable container have different available spaces and handling conditions. This affects label size, stock, placement, and whether you need a home printer, a label printer, or a commercial print provider.
2. Choose the label size before laying out the code
Measure the usable flat area, not just the overall object. Leave room for the QR code, its blank border, and any short instruction or product text. Keep the QR code square and preserve its quiet zone—the blank margin around the symbol. DENSO WAVE specifies a quiet zone at least four modules wide on each side.[1]
Do not shrink a code to fit a label without checking its density and the distance from which people will scan it. A QR code’s version determines its module grid, and the amount and type of encoded data can affect the version required.[2] There is no single sticker size that guarantees a successful scan in every setting. Test the planned size on the actual label and from the expected scanning distance before printing the batch.
If the label has space for a caption, place it outside the quiet zone. The caption should tell people why they might scan or what they will find, rather than covering part of the code. Keep enough contrast between the code and its background, and avoid placing a border, logo, or pattern inside the blank margin.
3. Match the label stock to the surface and conditions
Choose stock and adhesive for the object the label will touch and the conditions it will face. Check the label or print provider’s product details for the specific surface, handling, and exposure you expect. “Waterproof,” “outdoor,” or “removable” should be verified against the exact stock and adhesive, not assumed from a generic material name.
Plan the placement as well as the material. A flat, smooth area is easier to keep undistorted than a seam, deep curve, textured patch, or spot that will be folded or rubbed. If a curved or textured location is unavoidable, treat it as a separate proofing condition: apply a sample there and test the code before making the full batch.
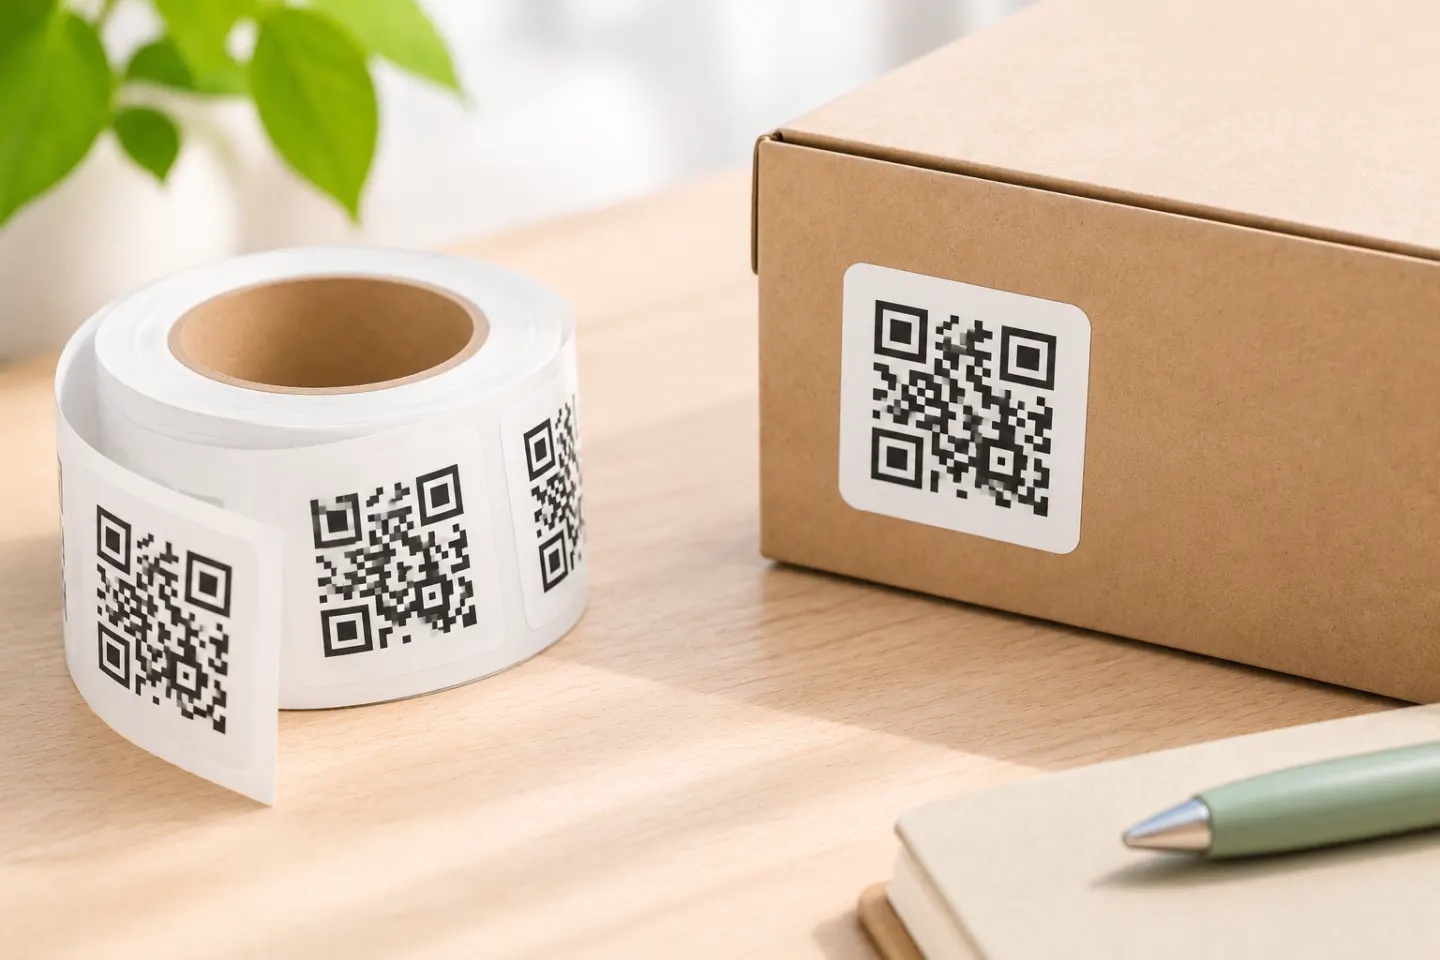
For a small run, you can use compatible printable label sheets and a home printer, a compatible thermal label printer and roll, or a print provider. These are different workflows. Confirm that the printer accepts the selected stock, label size, and feed format. Use the template or setup instructions for the exact sheet or roll you bought; a similarly sized template may still place content incorrectly.
4. Lay out the label and print an alignment test
Place the QR image inside the label boundary and preserve the quiet zone on all sides. Keep other design elements away from the code. If you are using a pre-cut sheet, select the template that matches its product or dimensions. Check page orientation, paper size, and scaling in the print dialog; settings such as “fit to page” can change the layout.
Before loading adhesive label stock, print the layout on plain paper at the intended size. Avery recommends using a practice test sheet to check alignment and printing its template at “Actual Size” or 100% for that alignment check.[3] Compare the paper test with the label sheet held behind it. If the design crosses a cut line or drifts toward an edge, correct the template or printer settings before using the adhesive sheet.
A plain-paper alignment check only checks placement. It does not show whether the real label stock will feed, reproduce the code clearly, adhere to the surface, or scan in use. Follow the printer and stock maker’s instructions for loading and media settings.
5. Print one label and test it where it will be used
Print one label on the actual stock before producing the rest. Check that the code edges are clear, the quiet zone remains blank, and no color or design element has reduced contrast. Apply the sample to the intended surface as directed for that stock.
Then test the applied sticker:
- Scan from the distance and angle a person is likely to use.
- Try the lighting expected at the location; do not test only under ideal desk lighting if the label will be used elsewhere.
- Confirm that the expected page or content opens and works on a phone.
- If it fails, check the destination, quiet zone, contrast, code size, print scaling, and surface distortion. Change one factor at a time and make another proof.
The plain-paper test and the applied-label test answer different questions: the first checks alignment, while the second checks the actual printed code and placement. Do both before printing a small batch. For unique labels, also verify a sample from each different design or destination rather than assuming one test covers every version.
6. Print the batch and keep a simple record
Once the proof works, print the small batch using the same file, stock, printer settings, and application method. Keep the original QR image and final layout file together. If labels have different destinations, record which code belongs to each item and verify the mapping as you apply them.
After application, scan a few finished labels from the actual objects—not just a loose label sheet. If a label is moved to a different material or location, check it again there. A successful test describes the sample and conditions you tested; it does not establish that every surface, printer, phone, or lighting condition will behave the same way.
Quick checklist
- Confirm the destination on a phone before generating the code.
- Measure the flat label area and keep the QR code square with its quiet zone intact.
- Match the stock and adhesive to the surface and expected exposure using product-specific guidance.
- Use the template for the exact label sheet or roll and check print scaling.
- Print a plain-paper alignment sheet, then one proof on actual stock.
- Apply and scan the proof under realistic conditions before printing the batch.
- Keep a mapping for labels that point to different destinations.
Frequently asked questions
Can I print QR code stickers at home?
Yes, if your printer supports the label stock and you use the matching template and print settings. Test alignment on plain paper first, then print and scan one label on the actual stock before using the rest of the sheet.
How big should a QR code sticker be?
Choose a size based on the code’s density, available flat space, and expected scan distance. Keep a quiet zone at least four modules wide on every side.[1] Print a sample and scan it on the intended surface before making the batch.
Should QR code labels be waterproof?
Only when the use conditions require it. Check the exact stock and adhesive specifications for the surface and exposure, then test an applied sample. A product description for one label material does not establish how every QR sticker will hold up.
References
[1] DENSO WAVE. Point for determining the code area. https://www.qrcode.com/en/howto/code.html
[2] DENSO WAVE. Information capacity and versions of the QR Code. https://www.qrcode.com/en/about/version.html
[3] Avery. Practice Test Sheet. https://www.avery.com/help/article/practice-test-sheet