Use this workflow for a business card, counter sign, poster, or package insert. Start with the destination—not the design.
1. Find and check your Facebook Page link
Open the Page you want customers to visit in a desktop browser. Navigate to its public-facing main page rather than a management dashboard, individual post, or settings screen. Copy the address from the browser’s address bar.
Do not invent a username or rewrite an unfamiliar address by guessing. Open the copied link in a separate window and confirm the Page name, profile image, and business details before proceeding. If you want a cleaner address, handle that separately; it should not become an unnecessary prerequisite for sharing a working Page link.
Recommended checks:
- Open the link while signed out and record what appears.
- Ask someone who does not manage the Page to open it.
- Confirm that the destination is the Page itself, not one of its posts.
A signed-out check shows what that browser can open. Ask a typical visitor to try the link if access matters.
2. Create and download the QR code
Option A: Use Chrome on a computer
Google’s documented desktop workflow is:
- Open the verified Page URL in Chrome.
- Select More → Cast, save, and share → Create QR code.
- Select Download to save the QR image.
These steps come from Google’s help documentation, not a hands-on test for this article. [1]
Option B: Use a URL QR generator
If you prefer a separate generator, use this checklist:
- Choose its URL or website-link option.
- Paste your verified Page address.
- Check the complete destination before exporting.
- Read any terms covering redirects, editing, expiration, or payment.
- Save the original exported file for your layout.
This is a general workflow, not a claim about QRHyper’s current controls or export options. No QRHyper interface or subscription features were tested for this article.
3. Prepare the layout
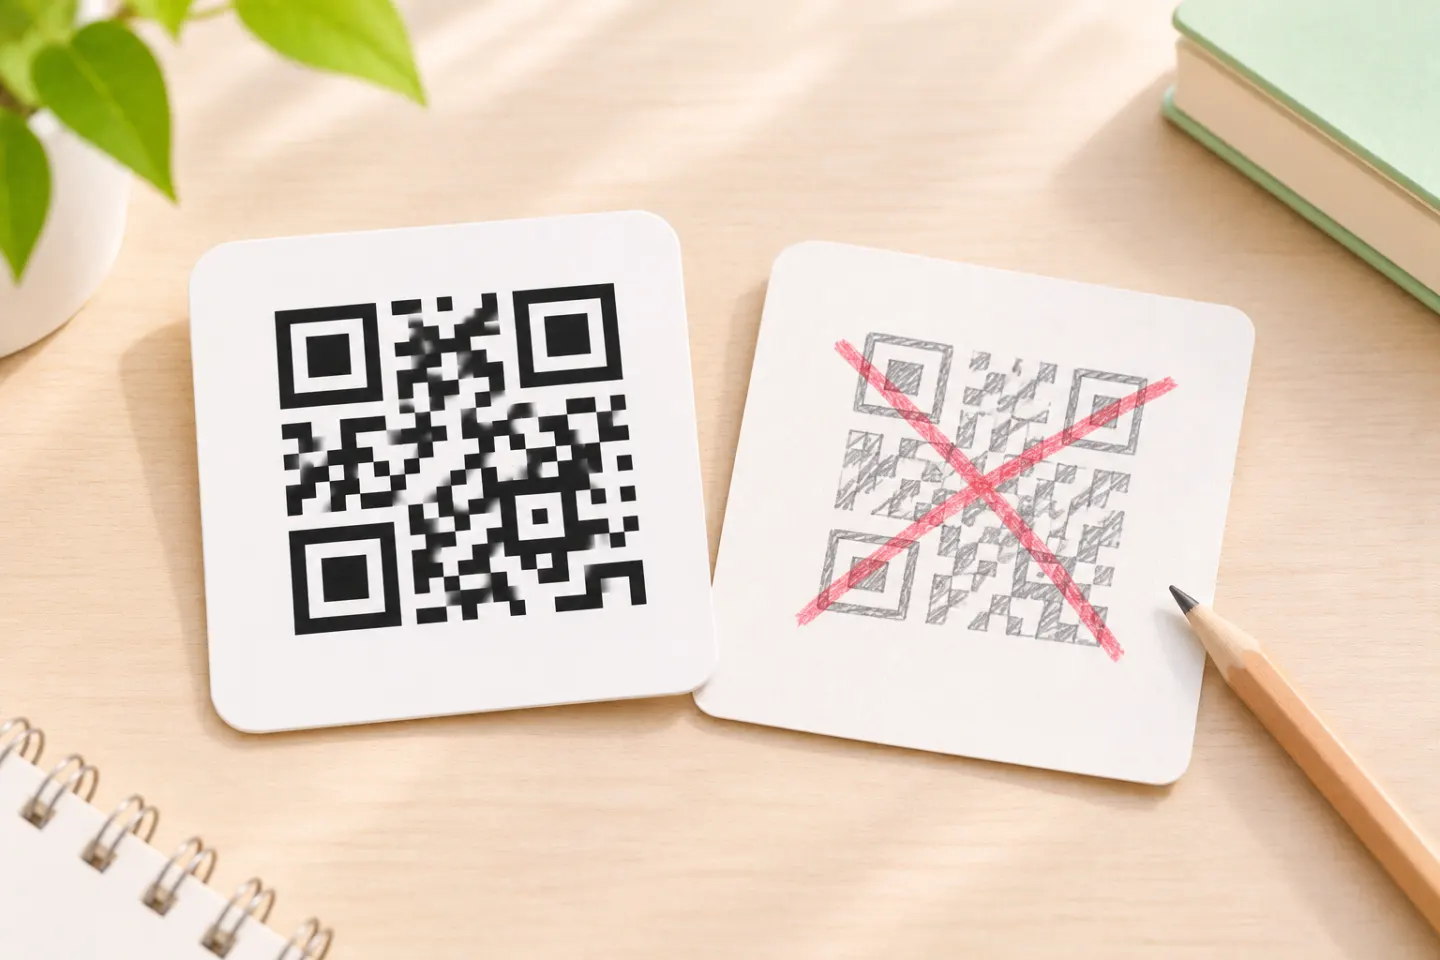
Keep a clear border around the QR code. DENSO WAVE specifies a quiet zone four modules wide on every side; a module is one small square in the QR pattern. Keep text, borders, and other artwork outside that area. [2]
For your first layout, use a plain dark-on-white design, avoid stretching the image, and keep decorations away from the code. Treat those as conservative production choices, then verify the actual result with a scan test.
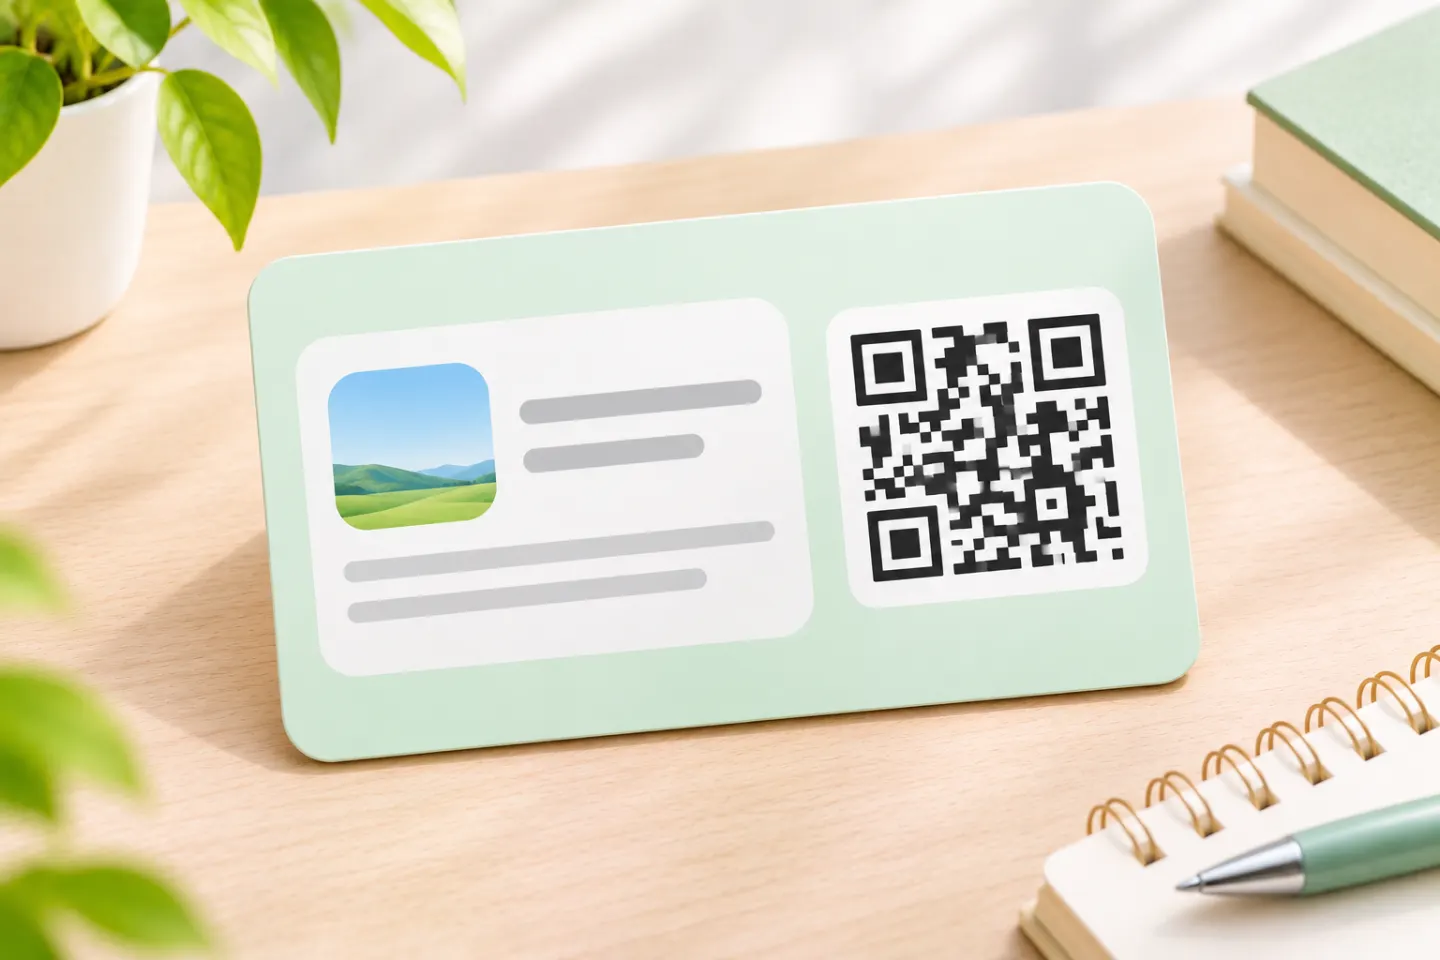
Add a clear instruction such as “Scan to visit our Facebook Page.” Also print a readable Page address as a fallback. For an email or web page, include a clickable link alongside the image.
4. Test the final version before distributing it
Use this acceptance checklist on the finished artwork—not only the generator preview:
- Scan with an iPhone and an Android phone if available.
- Confirm the intended Page opens after following the scan prompt.
- Check with a non-manager account and in a signed-out browser.
- Record whether the destination opens in a browser or app, rather than assuming either behavior.
- For print, scan a physical proof at the intended size and viewing distance.
- Recheck after resizing, redesigning, or changing the Page address.
These are recommended tests. No phone scans, app-opening tests, or physical print tests were performed for this article.
If the scan does not work
First separate the QR image from the destination: open the intended URL directly, then compare it with the address detected by the scanner. If the addresses differ, regenerate the code. If they match, investigate Page access separately before redesigning the image.
When should the QR code open Messenger instead?
Choose the destination to match your call to action:
| Your goal | Recommended destination | Suggested label |
|---|---|---|
| Let people browse the Page | Verified public Page URL | Visit our Facebook Page |
| Invite a conversation | Verified Messenger link | Message us on Messenger |
Meta describes m.me as a service that redirects people into Messenger. Its developer guide also explicitly documents embedding m.me links with referral parameters into QR codes. That is a messaging destination, not the same thing as opening the Page for browsing. [3]
Test your business’s Messenger link before encoding it. Do not add referral parameters or promise an automated conversation unless that messaging setup has been configured and verified.
When your Page address changes
Retest every published QR code. As a maintenance precaution, plan to replace a code that encodes an obsolete address unless you have confirmed that it still reaches the intended Page. Do not assume an old address will redirect indefinitely.
References
[1] Google Chrome Help — Share tabs in Chrome — https://support.google.com/chrome/answer/10051760?co=GENIE.Platform%3DDesktop&hl=en
[2] DENSO WAVE — Point for determining the code area — https://www.qrcode.com/en/howto/code.html
[3] Meta for Developers — m.me Links — https://developers.facebook.com/documentation/business-messaging/messenger-platform/discovery/m-me-links