For a straightforward desktop method, use Chrome’s built-in QR tool after opening the responder link. Google documents a download option, so a separate QR generator is not required for this workflow. [2]
1. Publish the form for the right audience
In the Google Forms editor:
- Click Publish at the top right.
- Click Manage to review who can respond.
- For an open public form, choose Anyone with the link under General access, if available and appropriate. For a restricted form, grant access to the intended people or groups instead.
- Finish with Done, then Publish. An already-published form shows Published at the top right. [3]
Need people to respond without signing in?
Check more than the sharing audience:
- Limit to 1 response requires respondents to sign in to a Google Account. Review this under Settings → Responses if you want a sign-in-free workflow. [3]
- File upload questions require a Google Account sign-in to upload files. [4]
- Verified email collection requires respondents to confirm that their Google Account email address is collected. It is different from asking people to type an email address manually. [5]
Before continuing, test the form while signed out if public, sign-in-free access is your goal. For a restricted form, test with an intended responder’s account—not only the owner’s account.
2. Copy the responder link—not the editor address
In Google Forms, click Share → Copy responder link. Google also documents Published → Copy responder link. After publishing, you can optionally select Shorten URL before copying. Either way, use the responder link rather than copying the address from the editor tab. [3]
Keep this copied link for the next step. Do not make the QR code from your editing tab.
3. Create and download the QR code
Option A: Use Chrome on a computer
- Open a new Chrome tab and paste the responder link.
- Confirm that the page is the form respondents should complete.
- Open Chrome’s More menu.
- Choose Cast, save, and share → Create QR code.
- Select Download. This follows Google’s documented desktop Chrome workflow; it is not a QR button inside Google Forms. [2]
Option B: Use a URL QR generator
If you prefer a separate generator, paste the copied responder link into its URL field, create the code, and download the image. Treat these as general steps: controls and export options depend on the tool.
Before committing to a service, check its current terms and whether it encodes your supplied URL directly or uses a managed redirect.
4. Test access and submission before distributing it
Use this acceptance checklist on the downloaded image and then on the finished layout:
- Scan it with a phone and confirm the correct form title and questions.
- If you want public access, open the destination in a signed-out or private browsing session.
- If access is restricted, ask someone in the intended audience to try it.
- With the form owner’s approval, submit a clearly labeled test response.
- Confirm that the response appears in the form’s Responses tab, where Google provides response views. [5]
Treat successfully opening the page and successfully submitting a response as two separate test results. Do not approve the code based only on a scan from the owner’s phone.
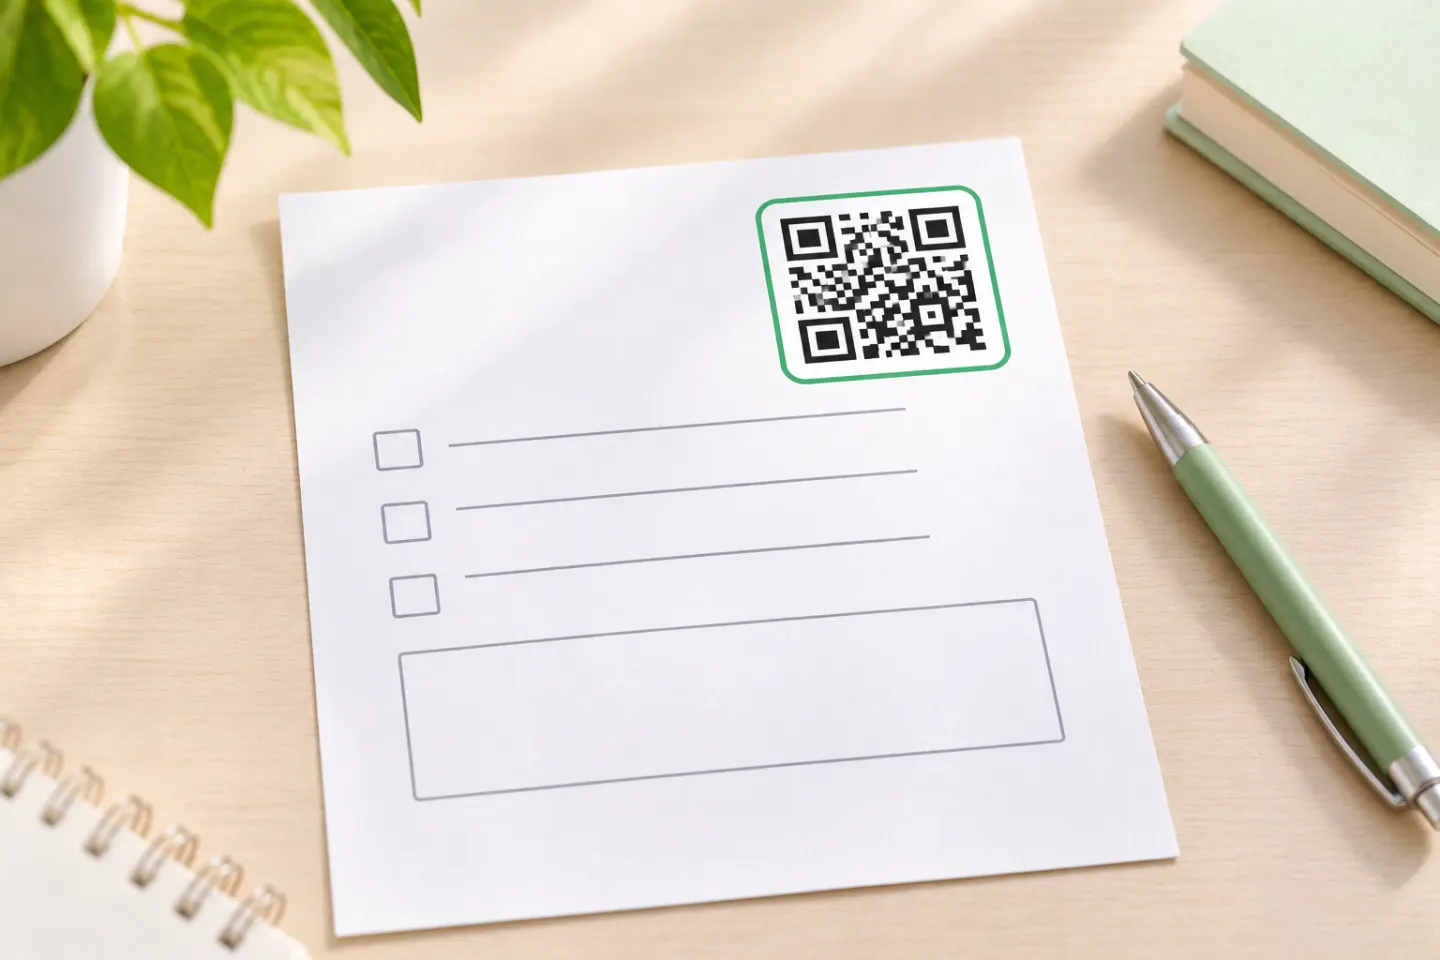
For printed flyers, signs, or handouts
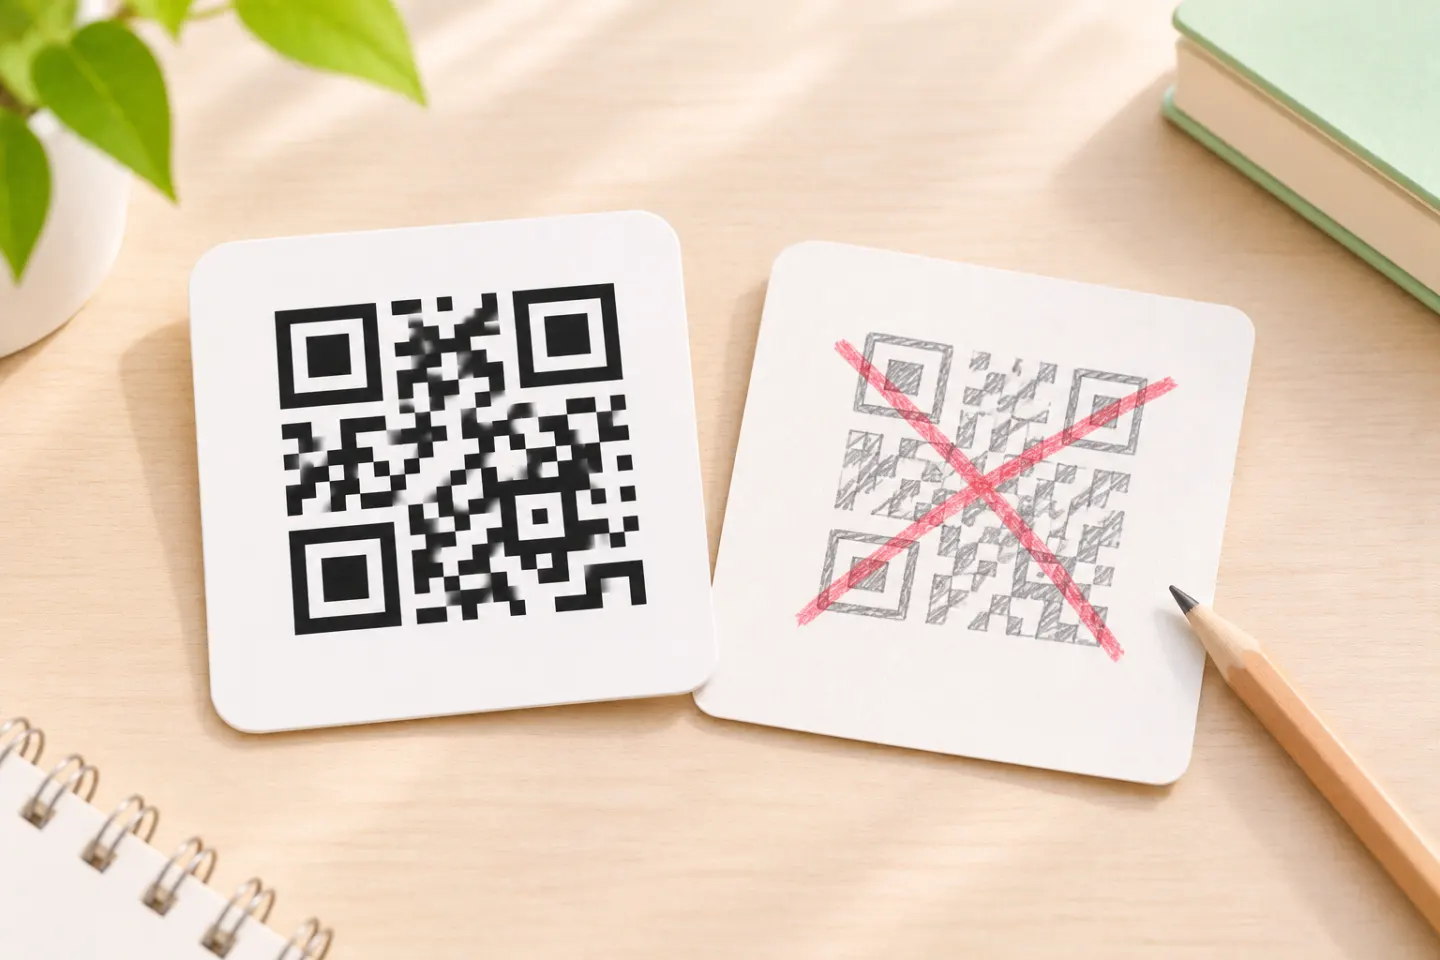
Keep a clear border around the symbol. DENSO WAVE specifies a quiet zone at least four modules wide on all four sides; a module is one small square unit of the code. Do not crop away that margin when placing the image. [6]
As practical production checks, use a dark code on a light background, avoid stretching the image, and print a sample at the intended size. Test it at the expected scanning distance and lighting before ordering a full batch. Add a clear label such as “Scan to register” and provide a readable backup link.
Troubleshooting
The form opens, but asks for permission or sign-in
Review the audience and the sign-in-dependent settings above. For a work or school form, check the current responder permissions with a test account in the intended audience.
The form says it is no longer accepting responses
Check Published → Accepting responses, including any close date or response limit. A published form can remain accessible while closed to submissions; that is a form setting, not necessarily a QR scanning problem. [5]
The code opens the wrong page
Start over with Copy responder link, then regenerate the image. Avoid using an editor address as your source. [3]
You need some answers filled in already
Google supports More → Pre-fill form. Enter the desired starting answers, choose Get link, and use that link for the QR workflow. Test the resulting form before distributing it. [3]
Before you share
Use this final sign-off: correct responder link, intended access, successful submission, and a successful scan from the final layout. Complete those checks before distributing an event sign, classroom handout, or feedback flyer.
References
[1] Google Workspace Learning Center — Publish your form and get responses — https://support.google.com/a/users/answer/9303072?hl=en
[2] Google Chrome Help — Share tabs in Chrome — https://support.google.com/chrome/answer/10051760?hl=en
[3] Google Docs Editors Help — Publish & share your form with responders — https://support.google.com/docs/answer/2839588?hl=en
[4] Google Docs Editors Help — Fix common errors while you respond to a Google Form — https://support.google.com/docs/answer/15473134?hl=en
[5] Google Docs Editors Help — View & manage form responses — https://support.google.com/docs/answer/139706?hl=en
[6] DENSO WAVE — Point for determining the code area — https://www.qrcode.com/en/howto/code.html